Run a stay: check-in and checkout
The stay is born at confirmation, not on arrival day. The two arrival mechanisms, the checklists you tick yourself, and what departure really cuts off.
A stay is the operational face of a reservation: it is where lock access, the arrival and departure checklists, the inspection and the proof all live. The reservation keeps the commercial side — money, messages, status — and the View reservation → link moves back and forth between the two pages.
The stay is born at confirmation
The stay does not wait for the arrival date: it is created the moment the reservation turns Confirmed. Until then, the page reads “Confirm the reservation to create the stay and unlock operations (access, check-in/out, proof).” and no field panel exists. After that, the reservation status drives the stay: Checked in puts it in progress, Checked out ends it.
The path, screen by screen
Open the Stays page
The Stays menu opens the list, subtitled “Field operations: access, check-in/out, inspection and proof per stay.”. Three tabs split it — Ongoing, Upcoming, Ended — and a field filters by guest or home (“Search a guest or a home…”). Stays whose proof has been built carry the Proof available badge; empty tabs stay explicit, such as “Confirmed stays will appear here.”
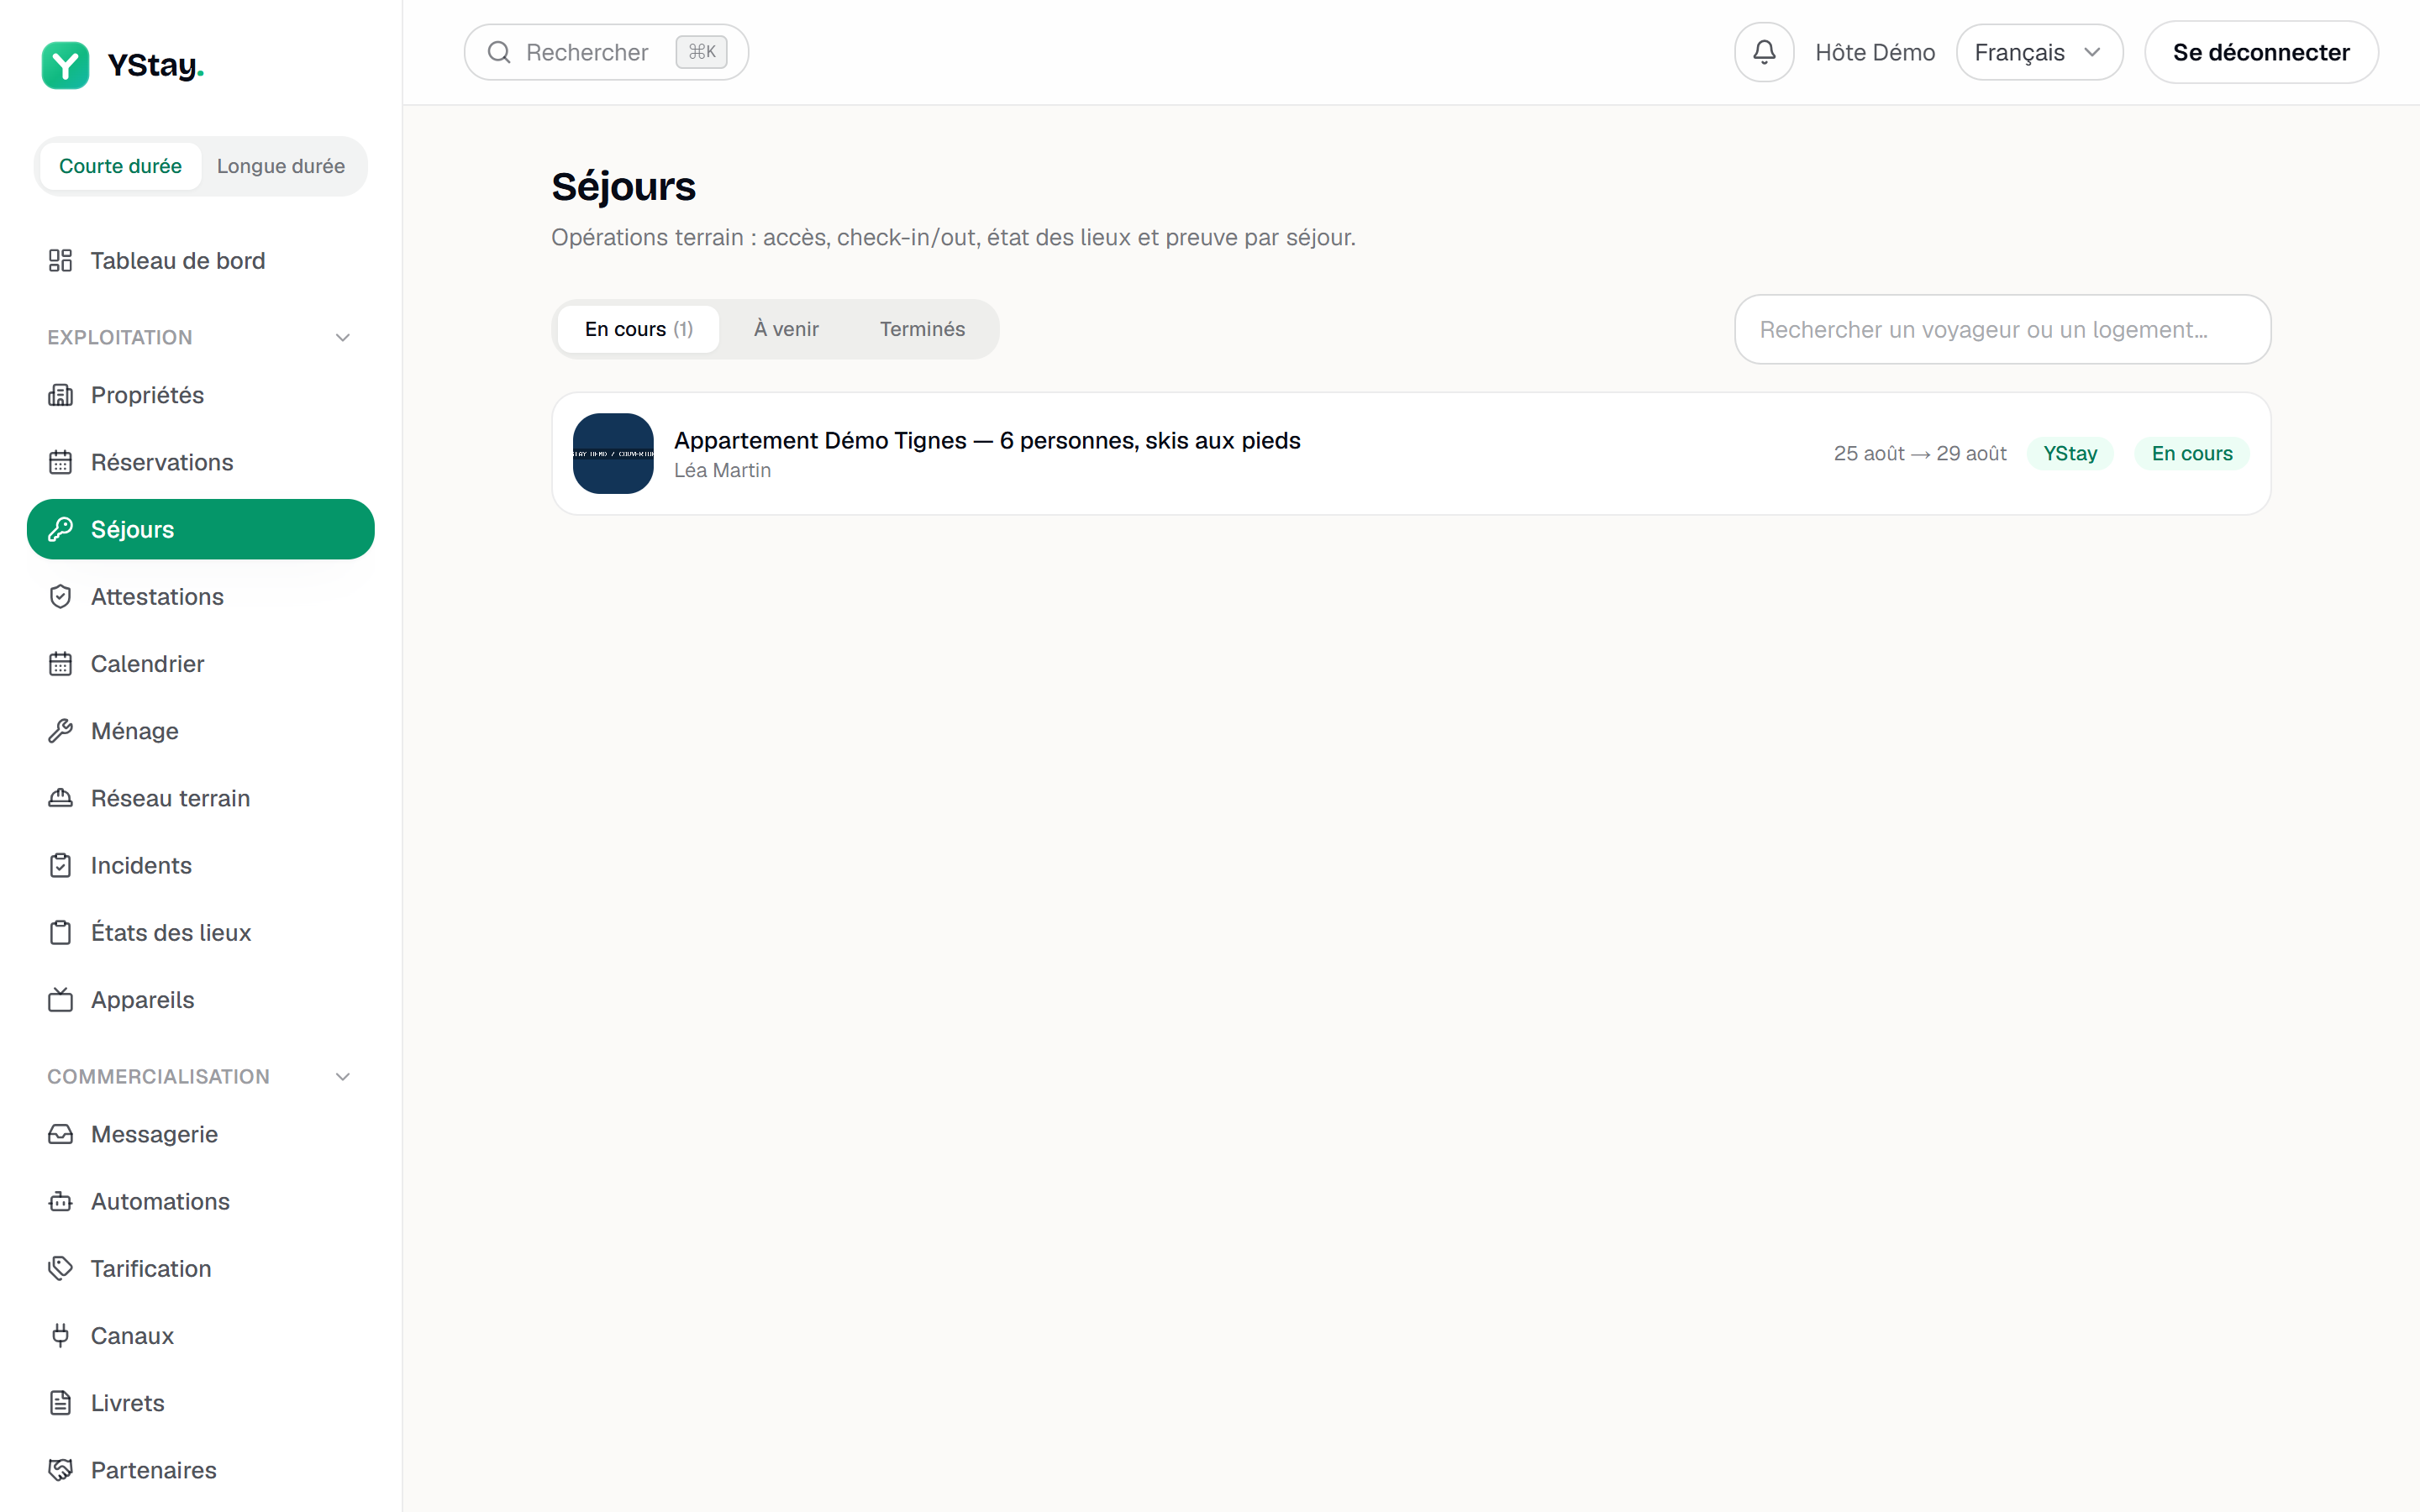
The Stays page: the tabs and one ongoing stay. Read the stay page
The page stacks its panels in a fixed order: Property access, Guest inventory, Inspection incentive, Check-in / Checkout, then StayProof — evidence.
An empty panel is a normal state, not a failure: nothing is created in advance. Property access says “No active access code.” until you generate one — see Connect a lock and give guests access.
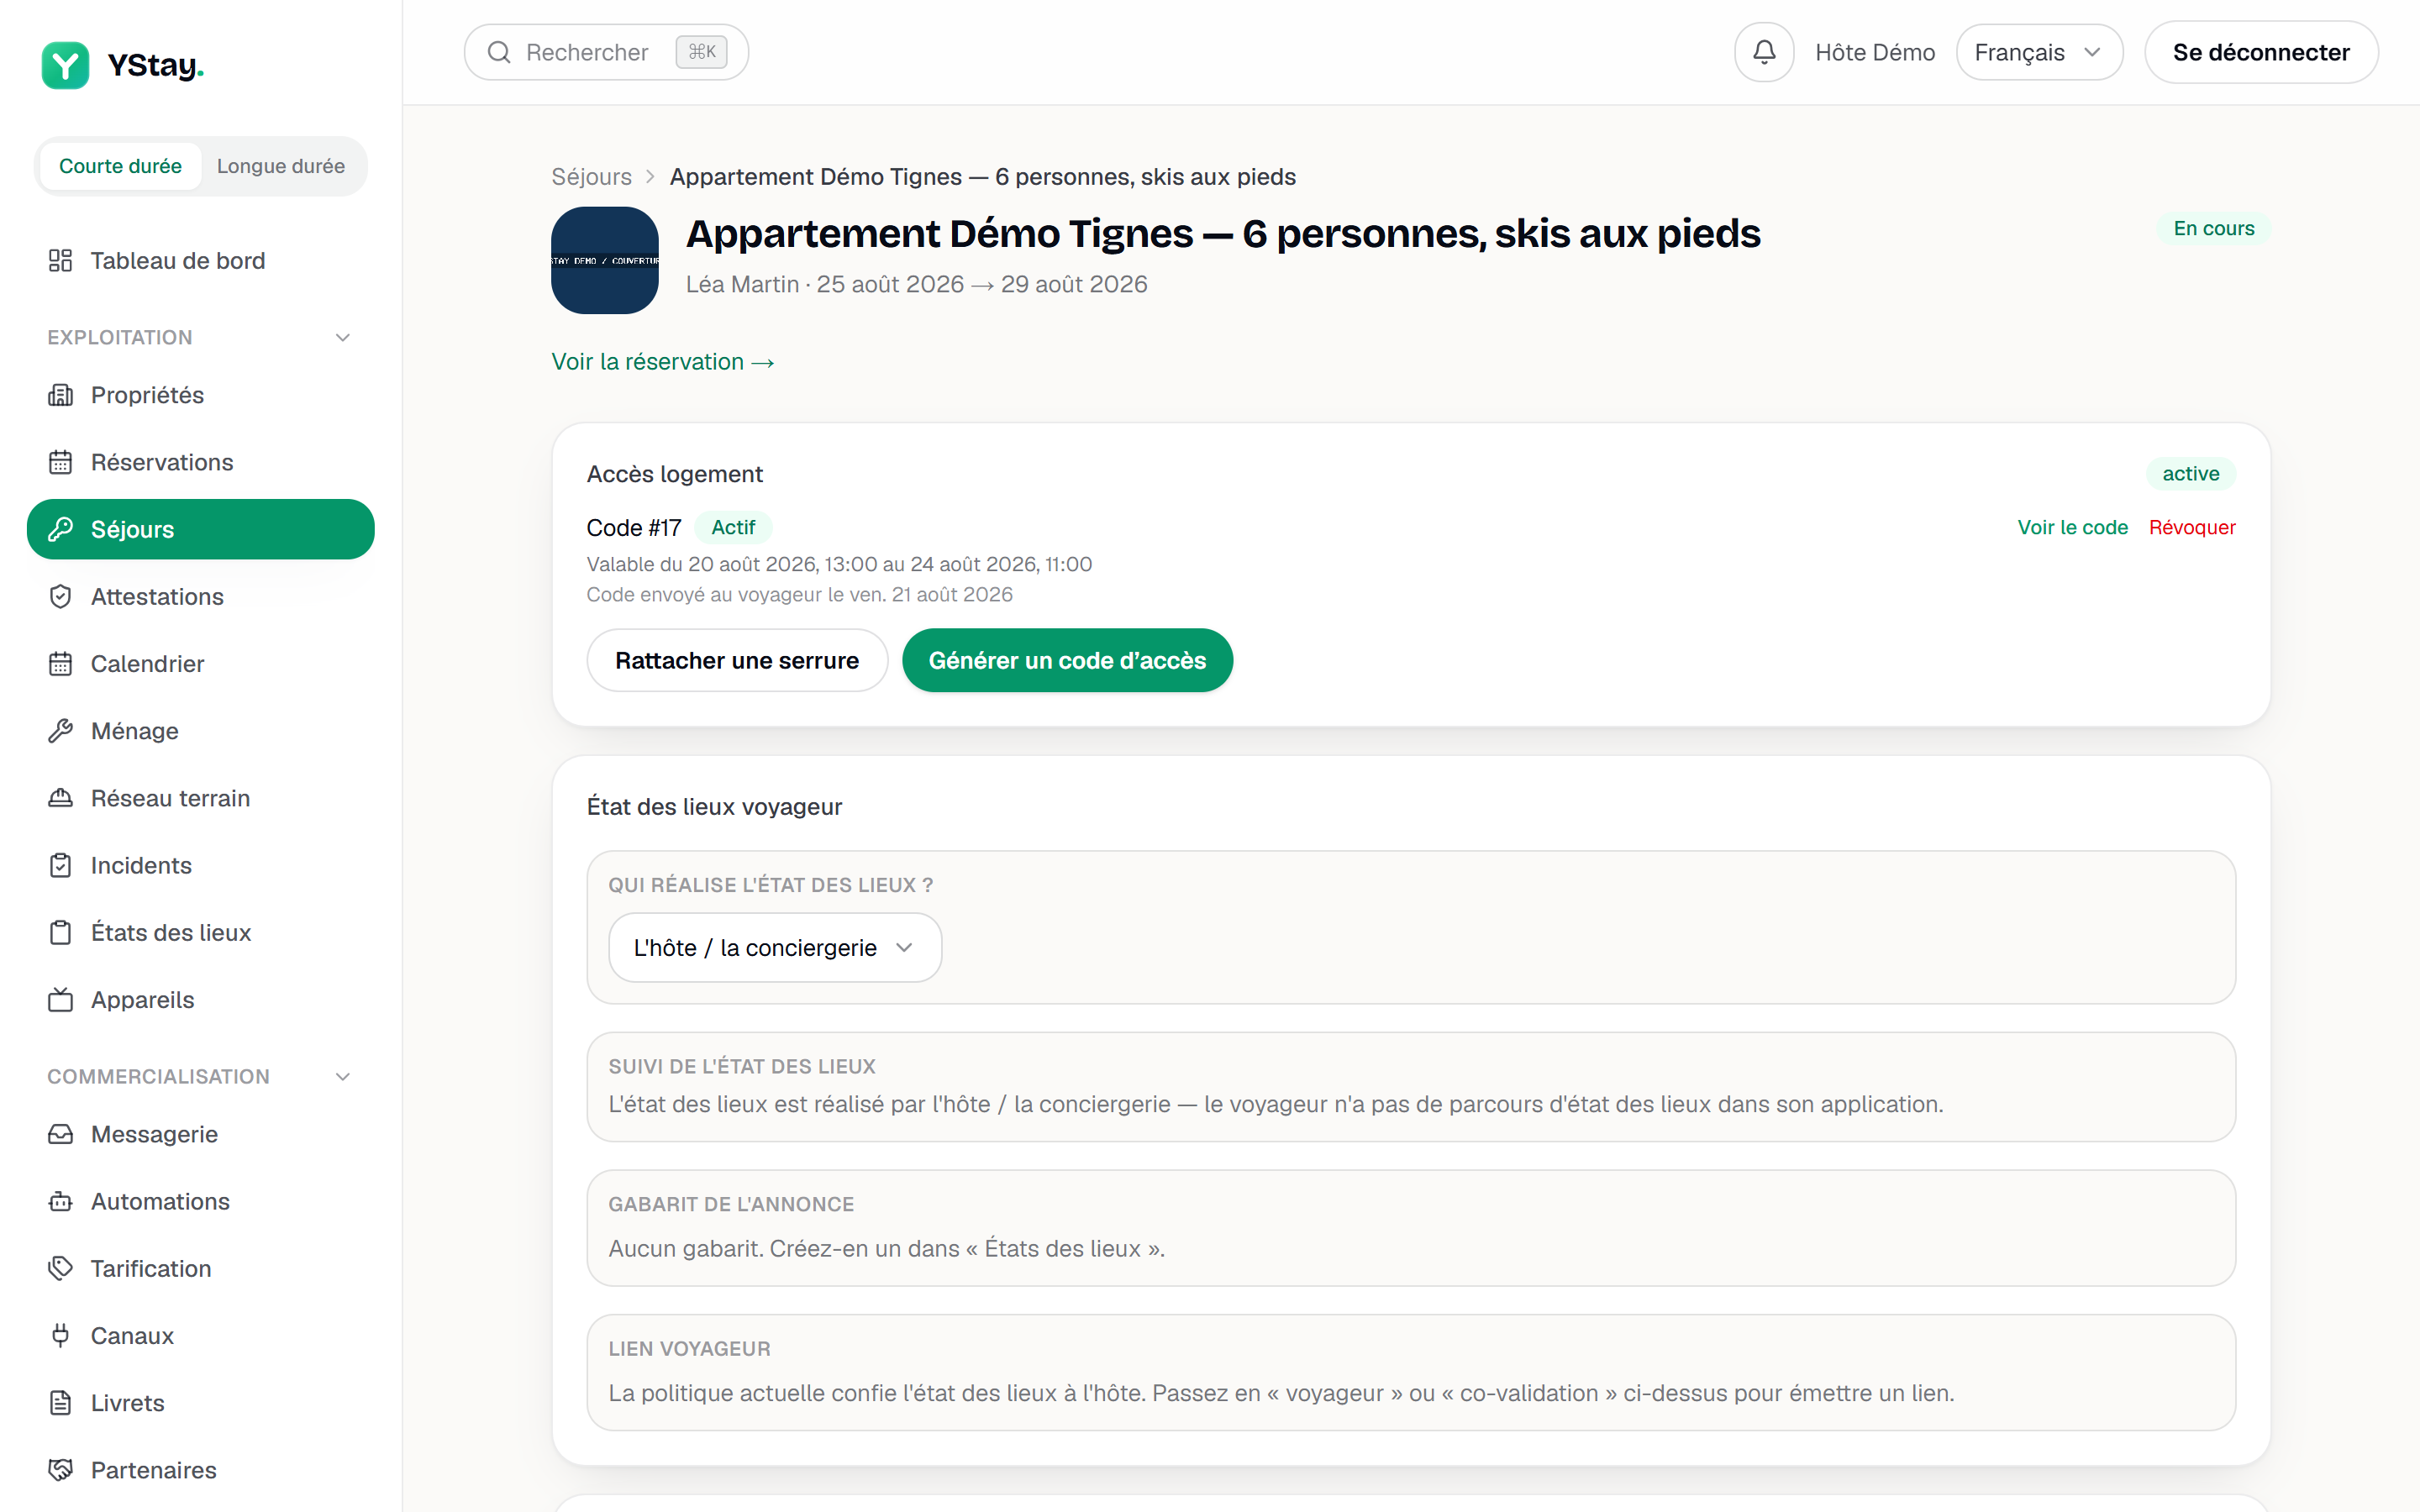
A stay page: the operational panels. Open a check-in session
In Check-in / Checkout, two buttons: + Check-in and + Checkout. Each opens a session, that is, a dated checklist. Only one open session per type: the button stays disabled until the previous one is closed. Before any session exists, the panel shows “No session.”
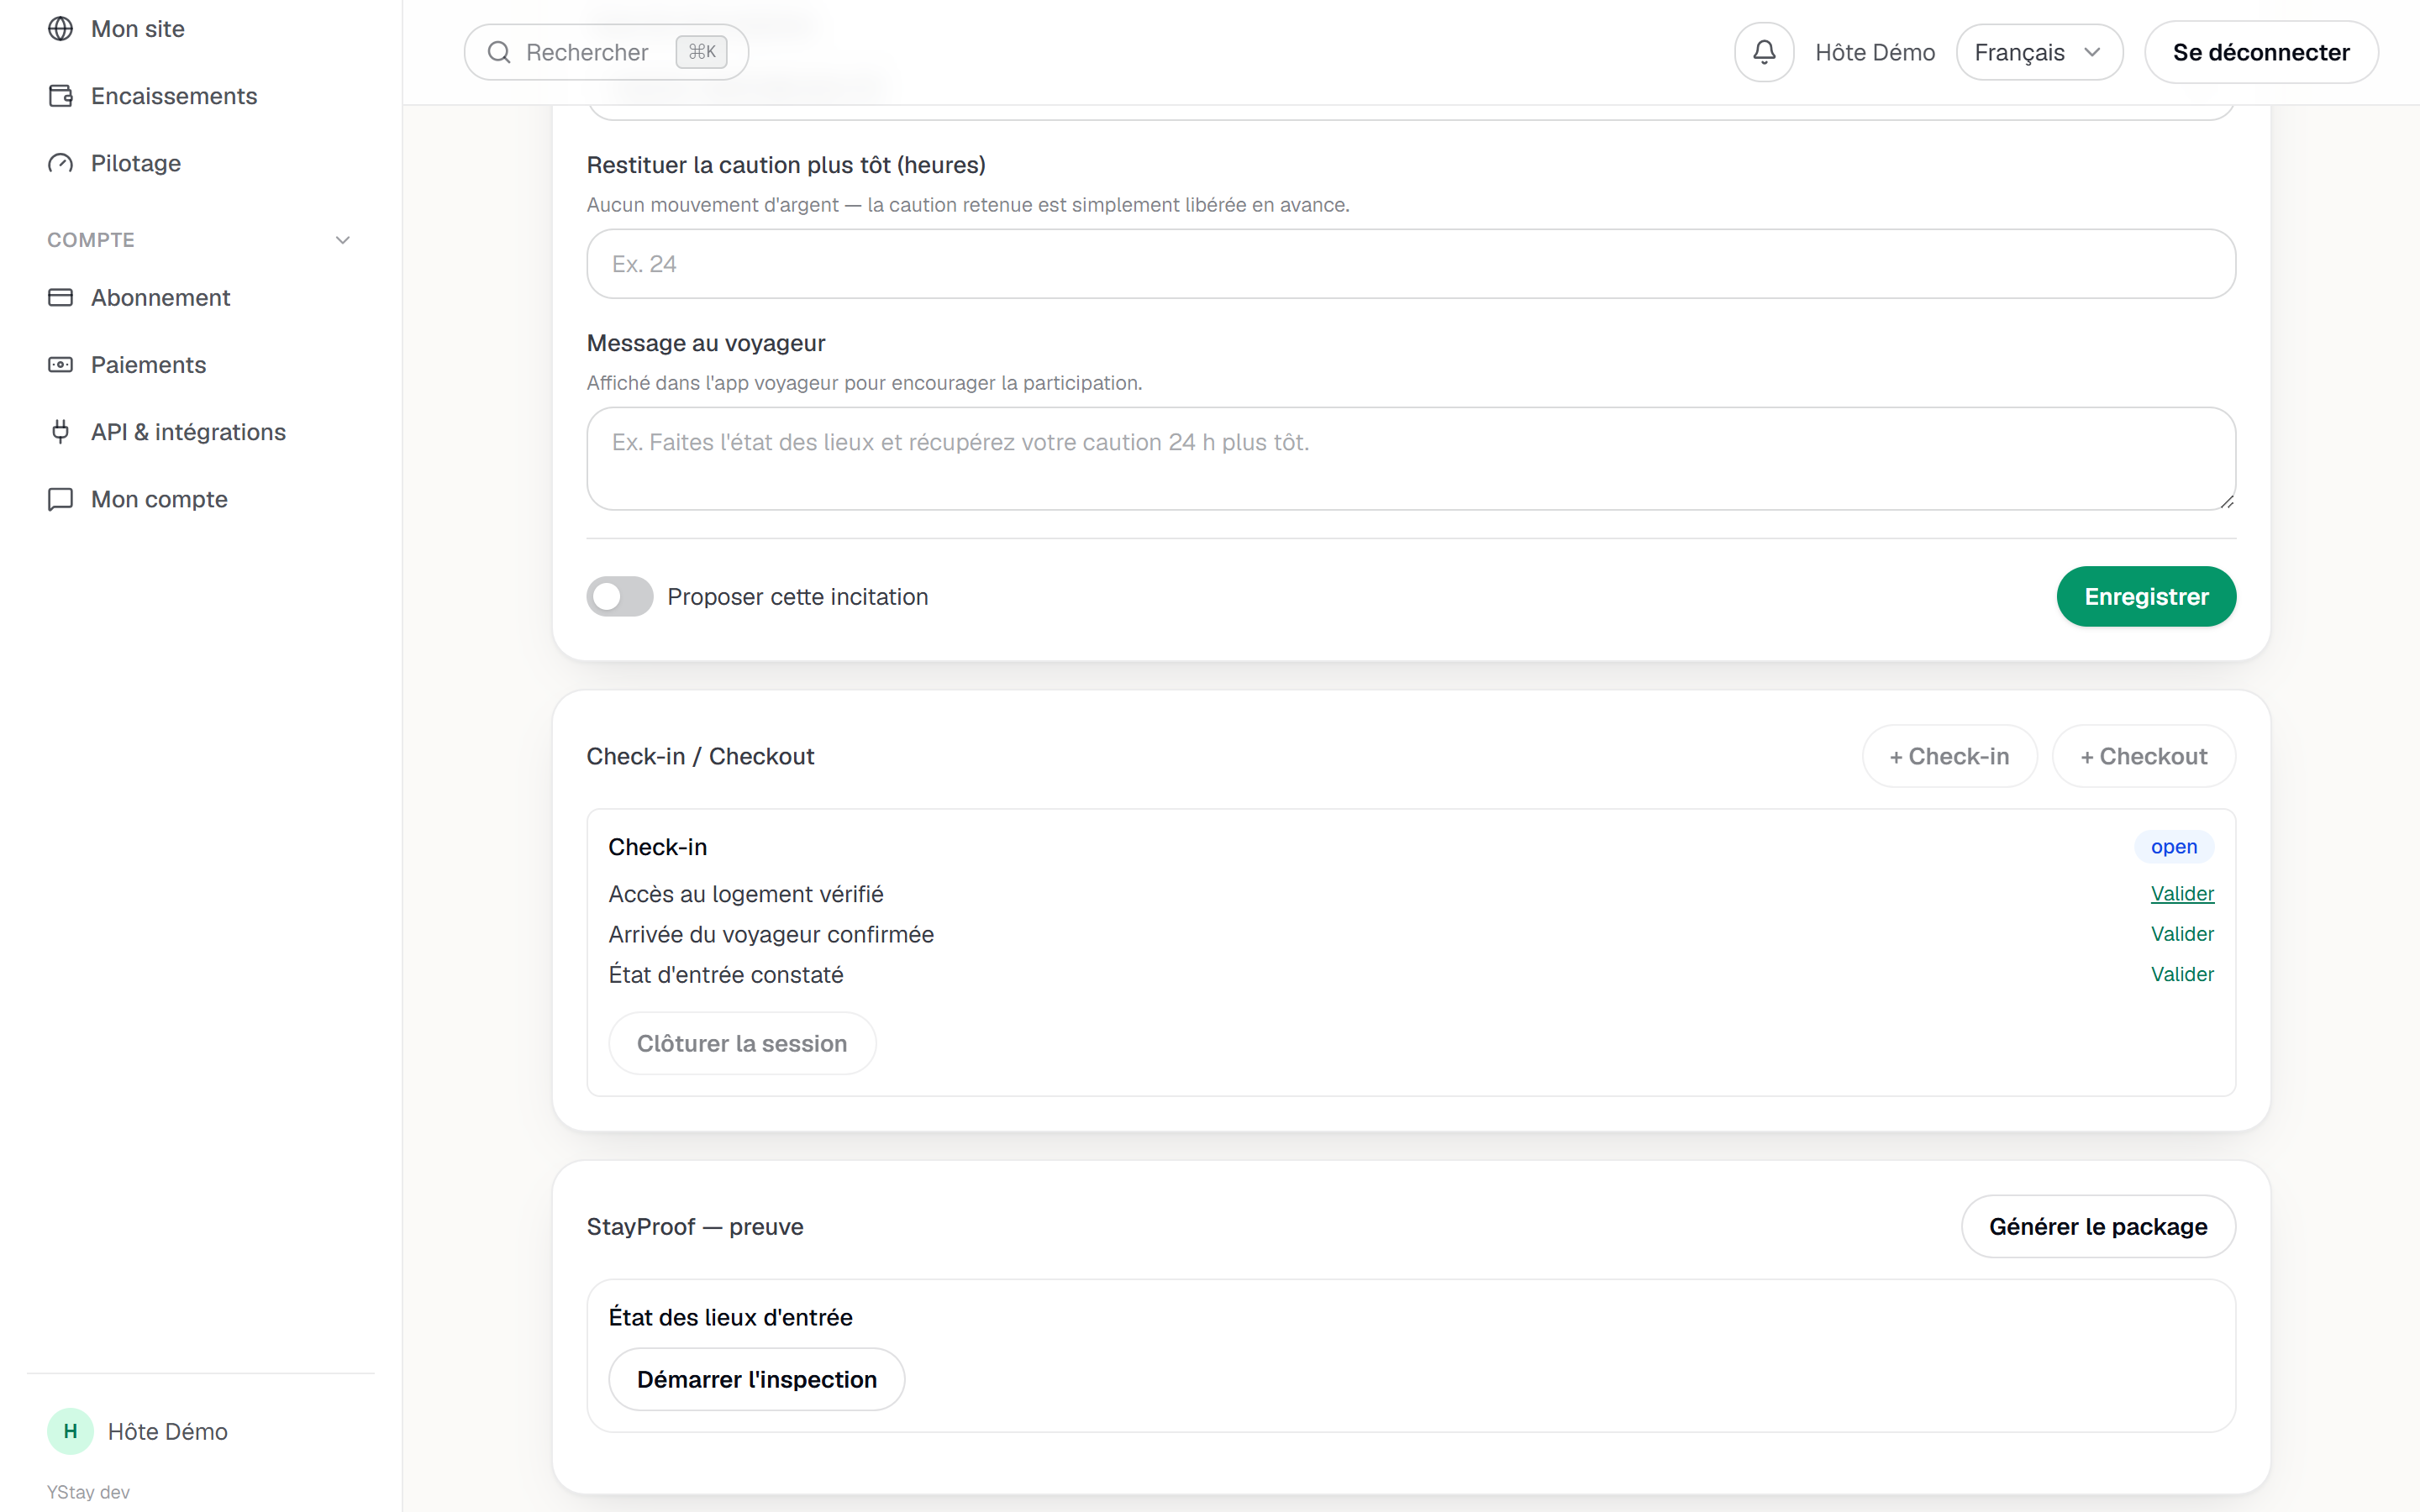
An open check-in session: the steps and the closing button. Validate the steps
A check-in session comes with three required steps: “Accès au logement vérifié”, “Arrivée du voyageur confirmée”, “État d'entrée constaté”. Checkout has its own: “Départ du voyageur confirmé”, “État de sortie vérifié”, “Accès clôturé”. Validate strikes the step through; there is no undo.
Close the session
Close the session shuts the checklist. If every required step is validated, closing is immediate. Otherwise a confirmation opens: Close despite incomplete steps, with the message “Some required steps are not validated. The forced closure will be logged with your reason.”, a mandatory Override reason field and the Close anyway button. The reason stays attached to the session, including in a dispute.
Mark the arrival, then the departure
On the reservation page, the Update status card only shows the transitions allowed from the current state: → Checked in on arrival day, then → Checked out at departure. Cancelling or marking a no-show asks for a confirmation with a reason.
What departure actually triggers
- The stay turns ended and its departure time is stamped.
- Active lock codes are revoked, even for an early departure: without that, a code would stay valid until the original end date.
- A housekeeping task is created for the home — see Housekeeping and turnover.
If something does not go as expected
- The + Check-in button stays disabled: a session of the same type is already open. The error message itself is “Cannot open (session already open or stay not eligible).”
- No field panel on the reservation: it is not Confirmed yet.
- The transition you expect is missing: only transitions valid from the current state are shown.
Next
- Inspections: policy, guest link, templates — decide who records the condition, and equip that record.
- StayProof: build and share the evidence — turn findings into a package you can rely on.
- Incidents and disputes — when the departure reveals damage.
- Take your first reservation and run your calendar — the getting-started guide this path follows on from.
- Operations — everything about the stay and what comes after it.
Updated on