Set up your account and integrations
Two profile cards — the person and the owner entity, with the details that end up on your guest invoices — then the overview of everything the account connects to.
My account gathers what identifies you: “Manage your sign-in details and your owner profile.” Two cards, and between them the Security card, covered separately in Turn on two-step verification.
The two cards do not serve the same purpose. User account describes the person who signs in. Owner profile describes the entity that rents, collects and invoices — and it is that entity your guests will see on their documents.
The two profile cards
User account: the person
Two fields, Name and Email, and a Save button. Changing the address is not a small thing: the screen warns — “Email not verified. Changing the email will send a new verification link.” — and it is the new address that receives that link.
Owner profile: the entity
Display name, Type (Individual or SCI), Legal name, Phone, then Address, Postal code, City and Country (ISO 2). The display name is the only field required in order to save.
This block feeds your commercial documents. Filling it in early spares you from hunting for it the moment an invoice has to go out.
Guest invoice issuer
Below a separator, the same card carries Guest invoice issuer: Company ID (SIRET), VAT number and Invoice legal notice. The screen states the exact reach — “Required for compliant invoices: this information appears on invoices issued for your direct bookings.”
The notice field takes free text, reprinted in the invoice footer; the example the screen suggests is “VAT not applicable, art. 293 B of the French Tax Code”.
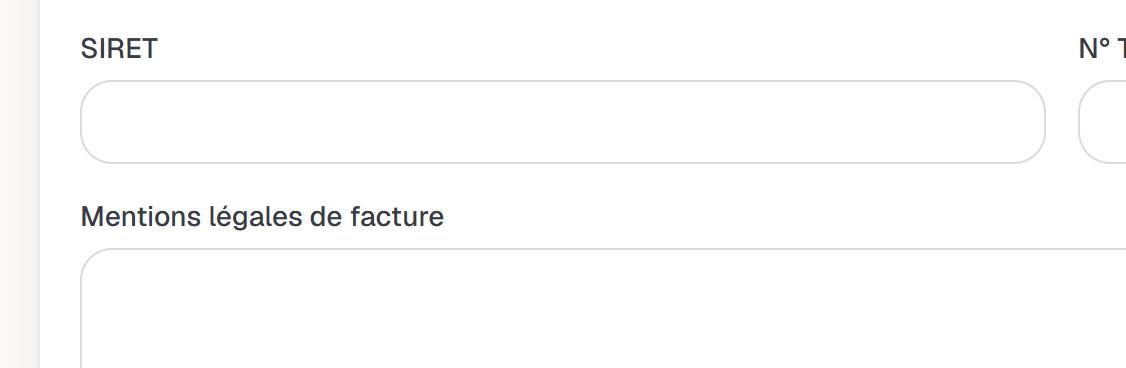
The profile cards: user and owner.
The API & integrations page
API & integrations is the overview of everything the account connects to. It is only visible to whoever may manage billing — a Staff member or a Read only role will not find it in their navigation. Three blocks follow one another there.
Payments collection comes first, in compact form: a status badge — To connect, Active or one of the states in between — and the Set up my payments button, which leads to the guided wizard on the Payments page. The full journey is described there; what lands on your account afterwards is covered in Track your revenue.
Connected locks comes next: “Connect your lock provider to automatically generate guest access codes at confirmation.” The step-by-step path, provider by provider, lives in Connect a lock and give guests access.
OAuth applications last, to plug in your own tools: “Connect your tools to the YStay API by creating OAuth applications (client credentials).” Create an application asks for a name and at least one scope under Scopes (permissions), and the View the API documentation → link opens the technical reference.
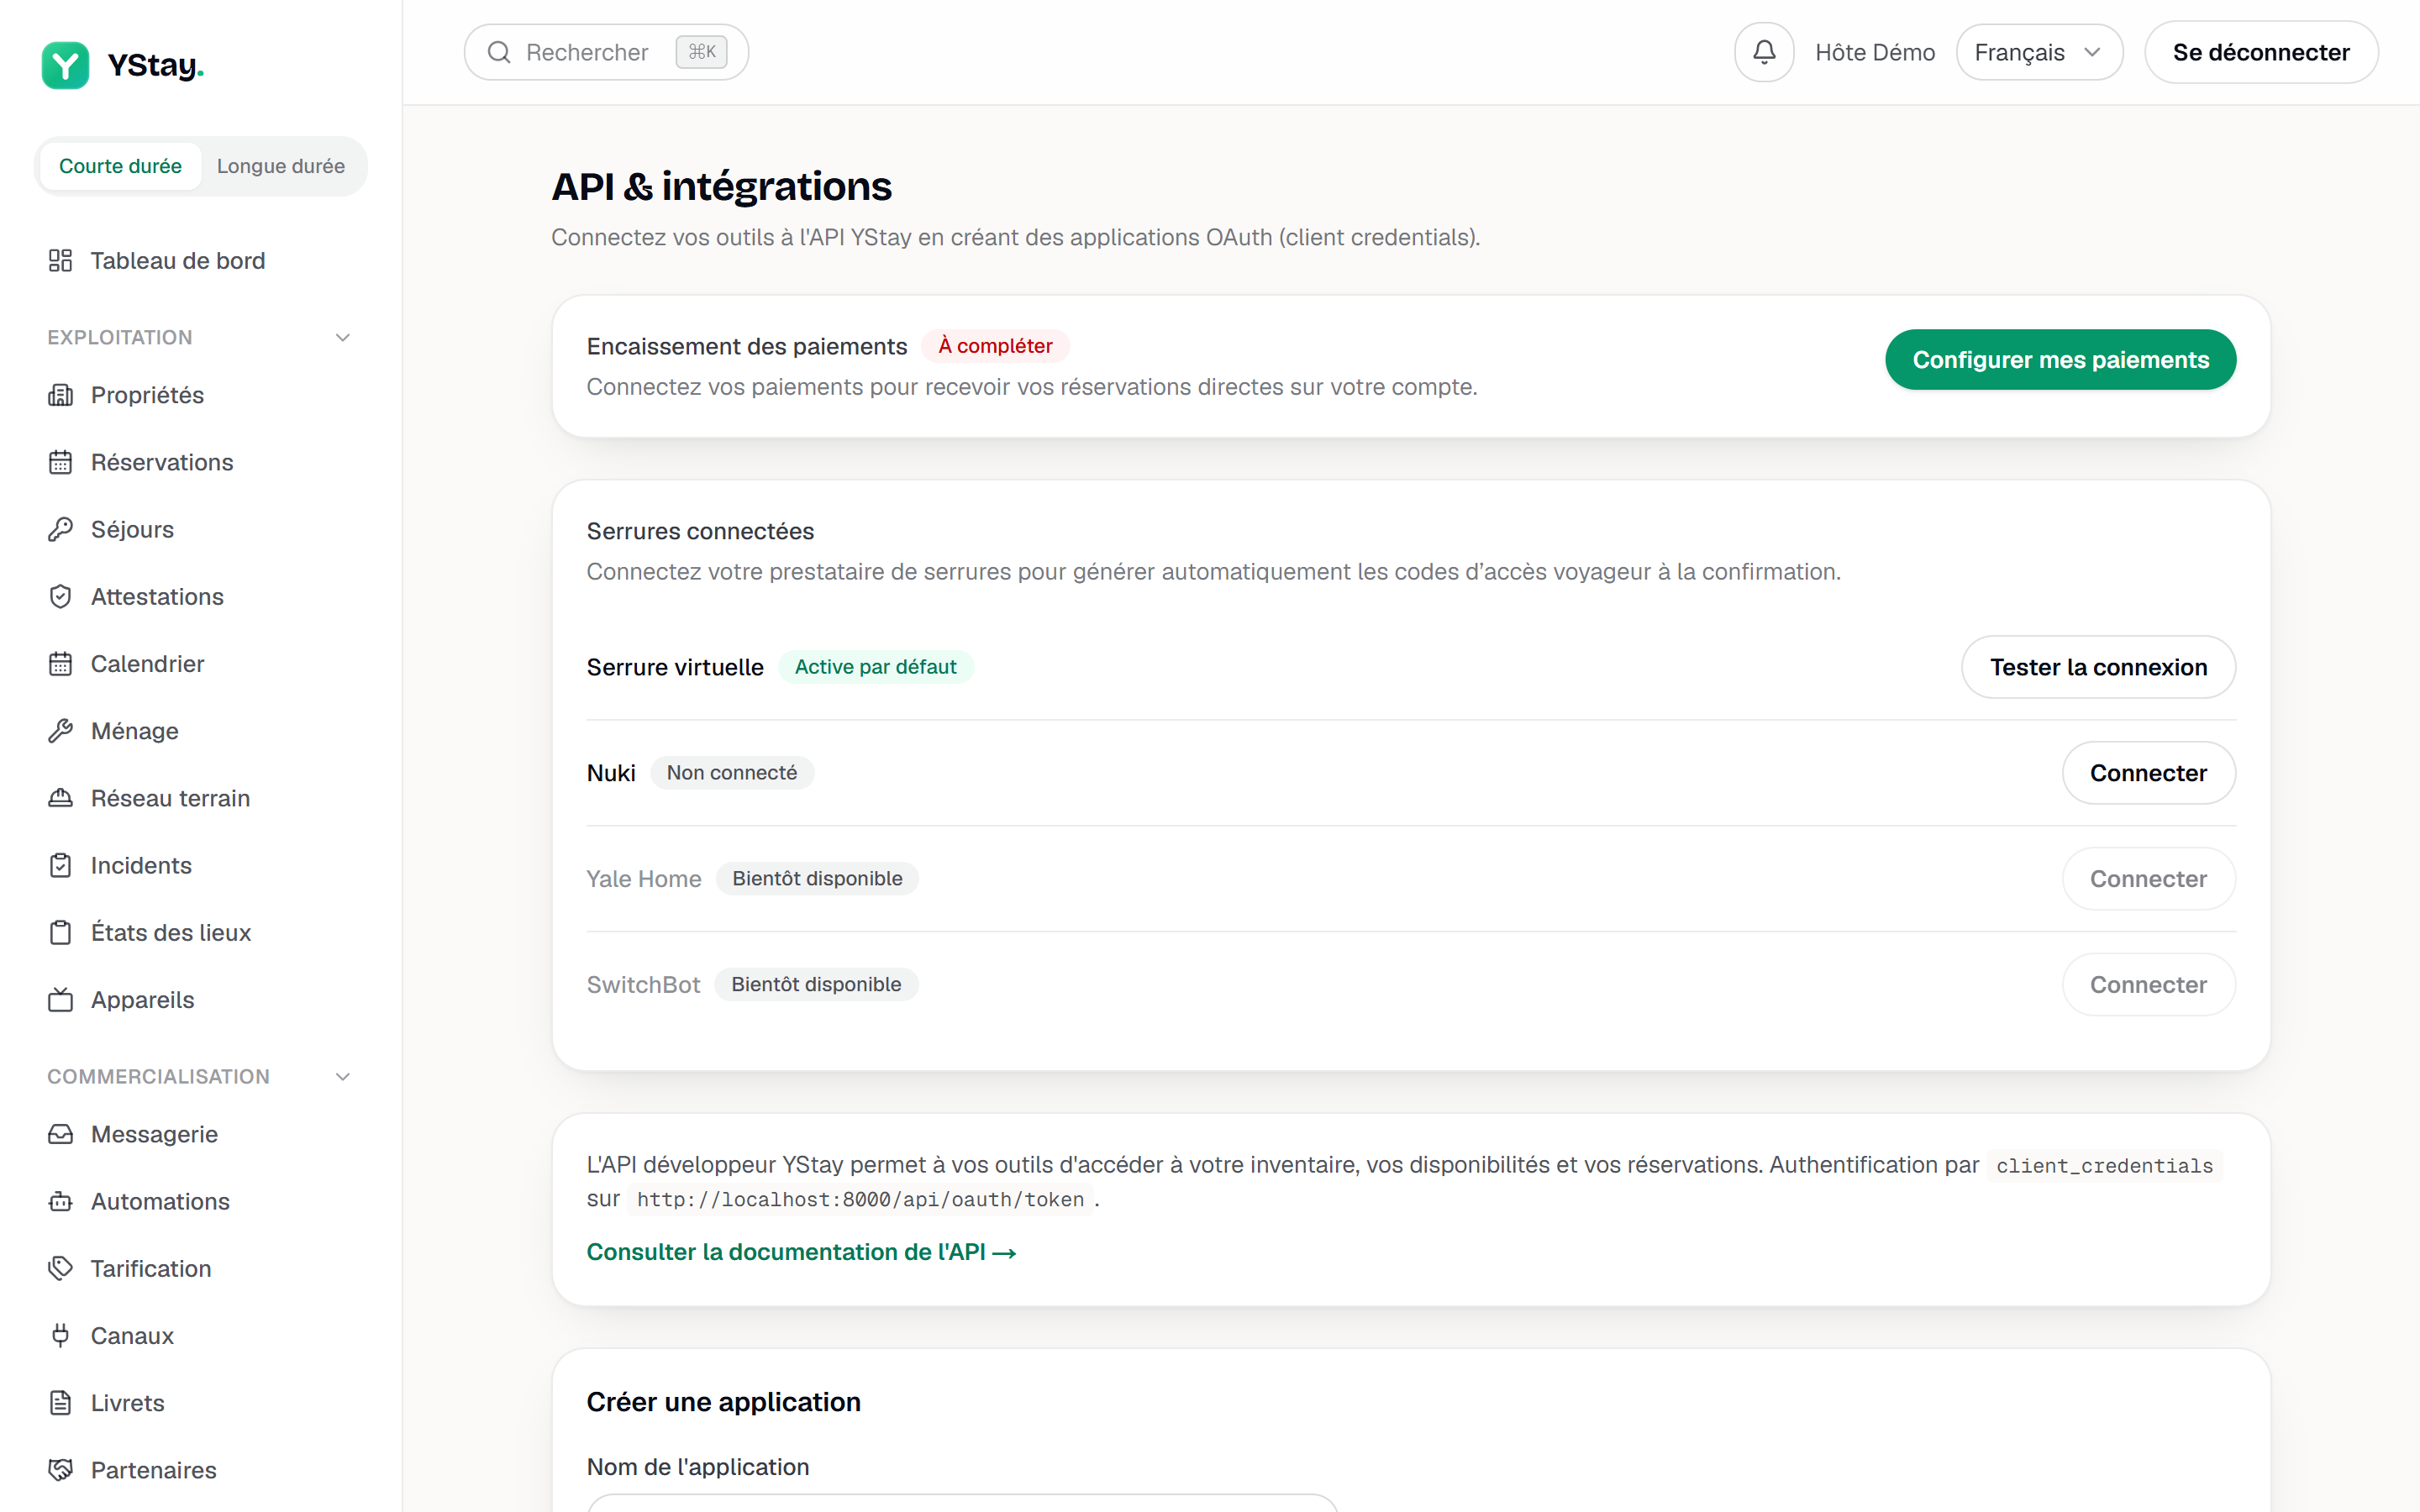
When the page opens read-only
A member who may not manage integrations, but who was led there by a link, gets a banner instead of a form: “Managing integrations is reserved for the owner and managers. You can view existing applications.”
Locks and payments follow the same logic, each with its own wording: “Only an account administrator can connect or disconnect a provider.” and “Only an account administrator can connect payments.”
Next
- Turn on two-step verification — the Security card on this very page.
- Invite your team and set their roles — who sees what, and on which properties.
- Create your account and your first listing — the first journey, where these details appear for the first time.
- Team & account — the other guides in this section.
Updated on