Field network: partners and missions
Your book of field partners and the mission dispatch, from a published turnover through to the proof you approve or reject.
The Field network page does two jobs at once, and that is the first thing to grasp before touching it. At the top, your book of partners: people outside your account, invited one by one at their email address. Below, the mission dispatch: what you hand them, and what you sign off when they bring their proof back. Its subtitle says as much: “B2B Field Partners, proof-gated missions and turnover proof validation.”
The path, screen by screen
Invite a field partner
The Invite a Field Partner card asks for one thing only, an email address — the field carries the example
partner@example.com— then Invite. Until someone has been invited, the card reads “No partner invited yet.”The invitation is tied to that exact address and to no other: your partner will have to accept it from a YStay account opened on the same address. It stays valid for seven days. And you cannot invite yourself: the account owner's address is refused.
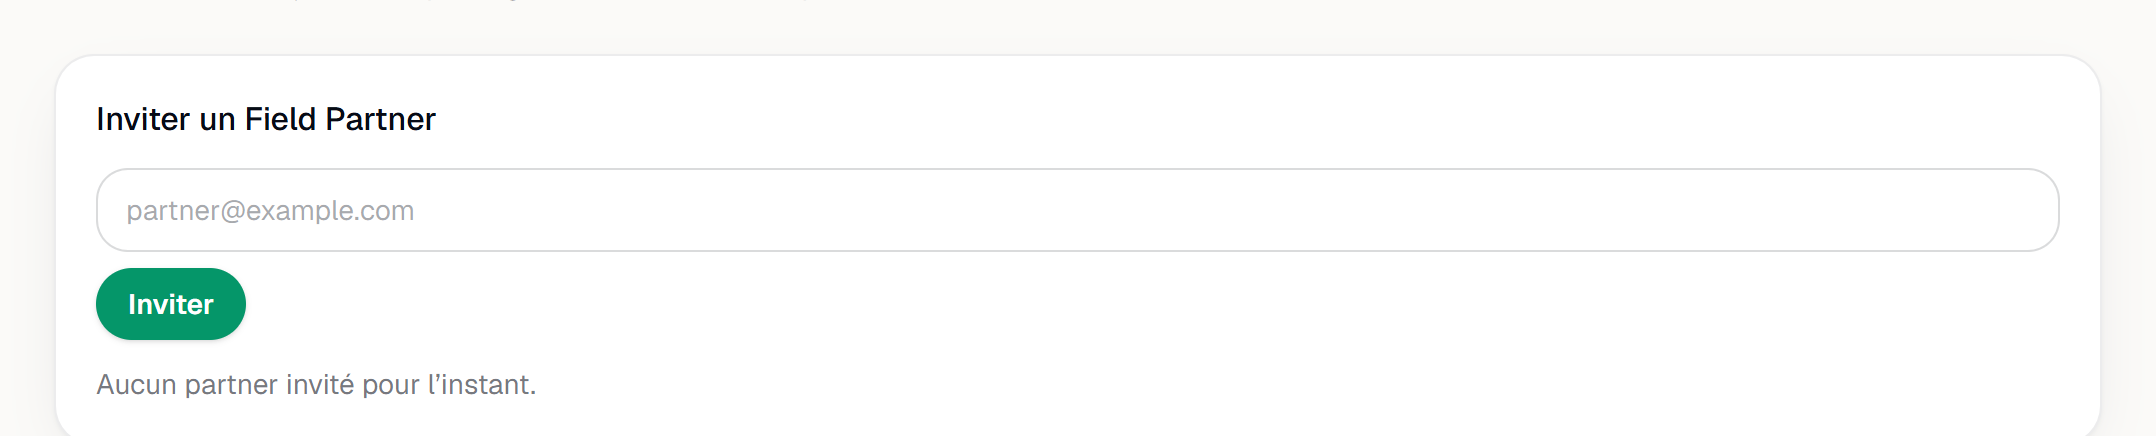
The invitation form for a field partner. Publish a mission from a turnover
The Publish a mission from a turnover card lists your unfinished turnovers, one line each: the turnover number, the unit concerned and its status. The Create mission button turns one into a mission, in the Open state.
It only appears while a turnover is still outstanding. And one turnover carries only one mission at a time: as long as that mission is neither approved nor cancelled, a second attempt is refused.
Assign the mission to the right partner
Under the Missions heading, each mission sits on its own card: number and type at the top, the turnover reference below, and its state as a badge on the right.
On an Open mission, the card adds a Partner dropdown and an Assign button. Only active partners appear there — a partner who was invited but has not accepted is not offered. Assigning moves the mission to Offered and alerts the partner on their phone.
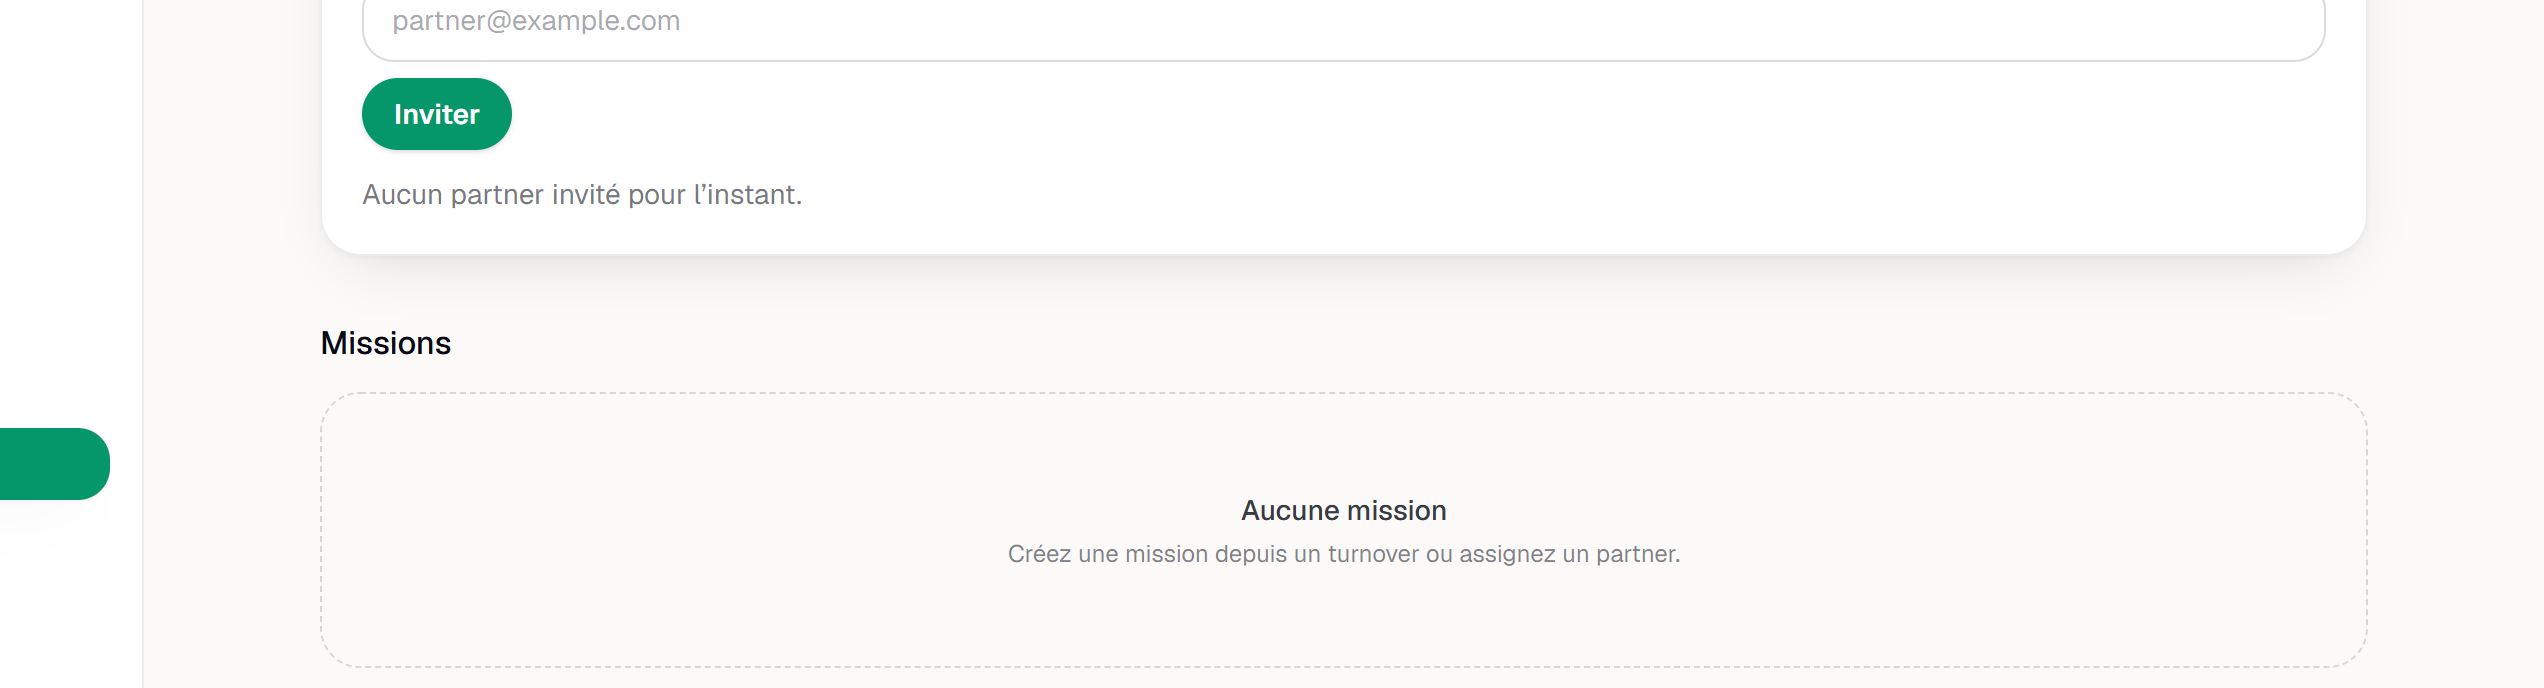
The mission list (or its empty state). Approve — or reject — the proof brought back
Once the partner has finished and submitted their proof, the mission moves to Proof to review and two buttons appear: Approve proof and Reject. They exist in that state only — before it there is nothing to review; after it the decision is made. Approve proof closes the mission as Approved; Reject flips it to Disputed.
A mission's cycle, state by state
- Open — created, nobody on it. The only state where the screen offers assignment.
- Offered — sent to a partner, who has not answered yet.
- Accepted — the partner has taken it.
- In progress — they are at work.
- Proof to review — proof is in; the ball is in your court.
- Approved — you signed off. End of the road.
- Disputed — you rejected the proof.
- Cancelled — the mission was dropped before it went anywhere.
The other mission types
A mission carries a type, shown next to its number. The model provides for four: the turnover, access (work on the lock), the incident and the session fallback. Only the turnover is open today — any other request is refused, on the grounds that only turnover missions are supported at this stage. Access missions will come when that is switched on; until then door codes are handled from the reservation, as described in Connect a lock and give guests access.
If the screen will not move
- “Unable to load field dispatch.” — reload before concluding anything: your missions could not be read.
- “Unable to invite.” — invalid address, or the account owner's own address.
- “Unable to create mission.” — that turnover already carries an open mission.
- “Action failed.” — inactive partner, or a mission whose state changed since it was displayed.
Next
- Housekeeping and turnovers — where the turnovers you publish as missions come from.
- Connect a lock and give guests access — door codes, today independent of missions.
- Operations — every screen of the stay and its aftermath.
Updated on