Enable payments (Stripe)
The four-step guided setup that connects your payment account: what to have ready, what takes people by surprise, and what can no longer be changed afterwards.
Until your payments are connected you can prepare everything — properties, units, listings — but no online booking is collected. Connecting is a one-off, roughly five minutes, through a guided setup in four steps.
Two pages have similar names and different jobs. Payments is the configuration: that is where this guide lives. Earnings is the day-to-day: the history of your payouts, the YStay commission line by line, the export. We come back to it at the end.
Before you start
- Only an account administrator can connect payments. A team member without that right sees the page read-only.
- Have a proof of identity and your IBAN ready: both are asked for in every case.
- Depending on your situation, add either a few details about your activity if you are an individual, or your company registration number and company details if you are a professional.
The setup, step by step
Welcome
Open Payments: the setup opens right there, on the Welcome step. It explains the principle — the money from your bookings lands directly in your bank account, identity verification is handled by our payment partner, and no banking data passes through YStay. A single button, Get started, moves you on.
A second route leads to the same place: on the API & integrations page, the Payments collection card offers Set up my payments.
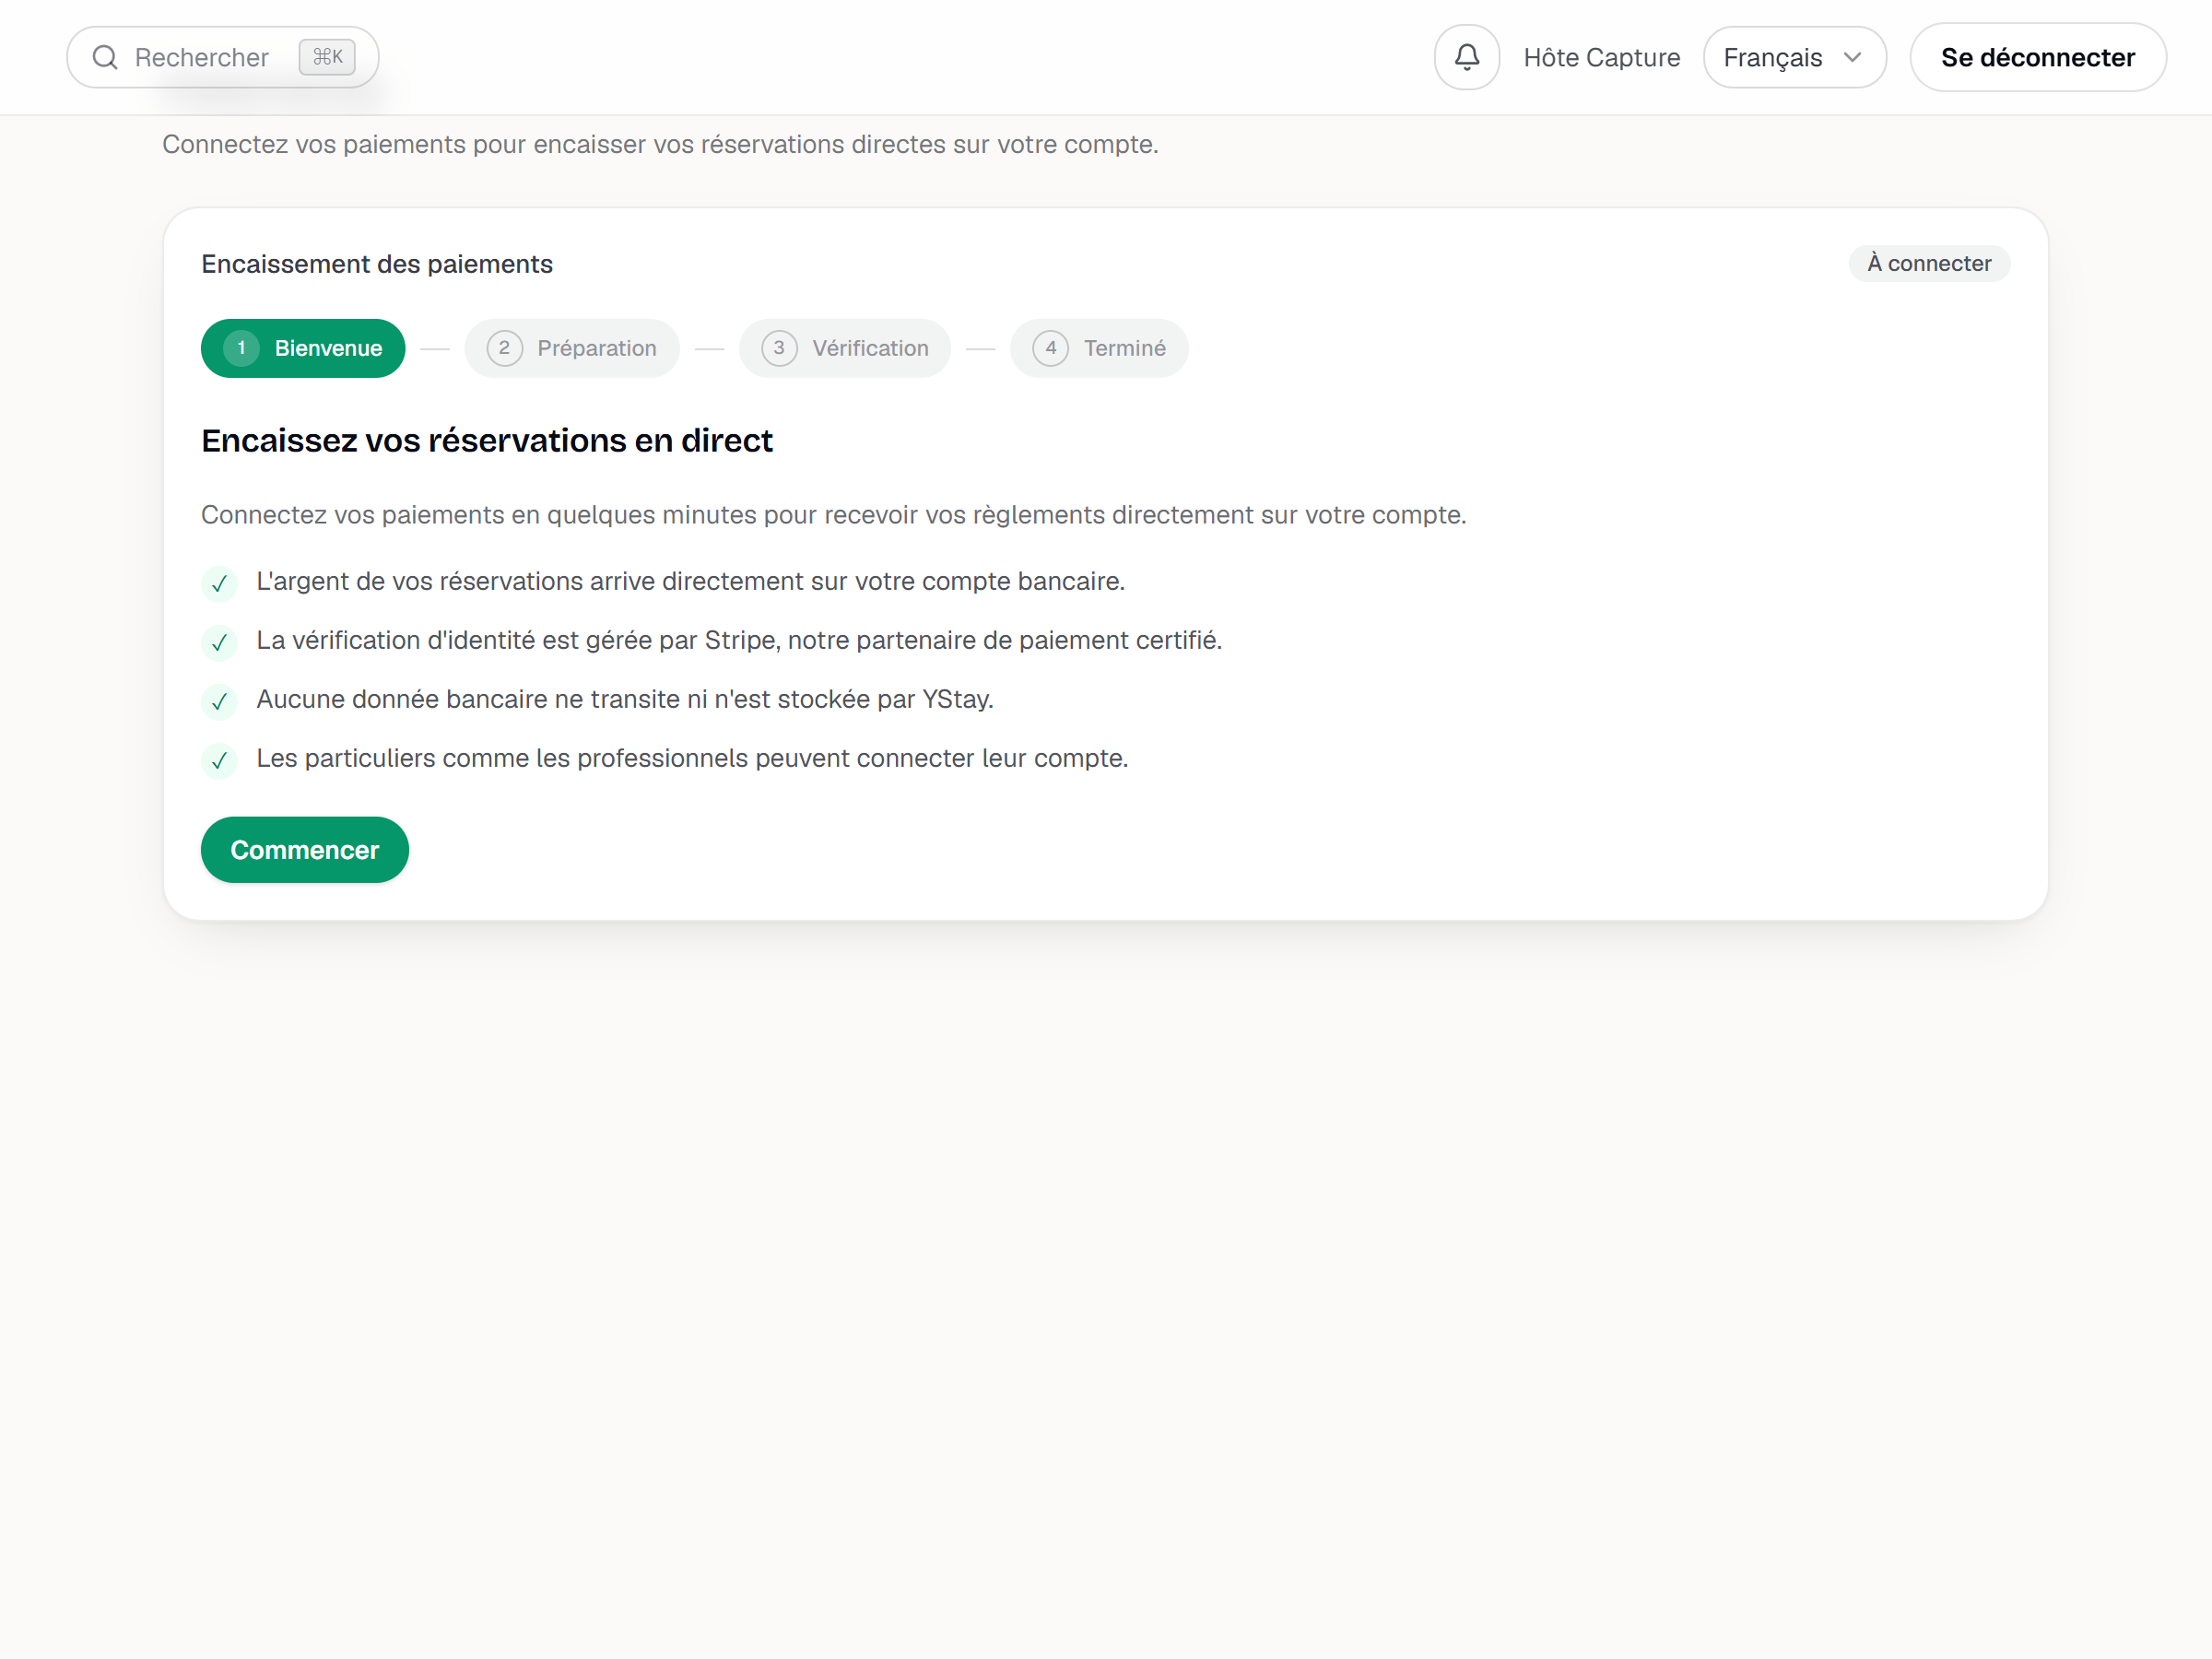
The Welcome step, with the four-step stepper along the top. Get ready
The What you'll need step opens with the You are: choice — An individual or A professional / company. It is pre-filled with the type you declared at sign-up, and stays editable as long as no payment account exists yet.
The list of documents adapts to that choice: proof of identity and IBAN either way, then your activity details for an individual, or your company registration number and company details for a professional. The step announces about five minutes.
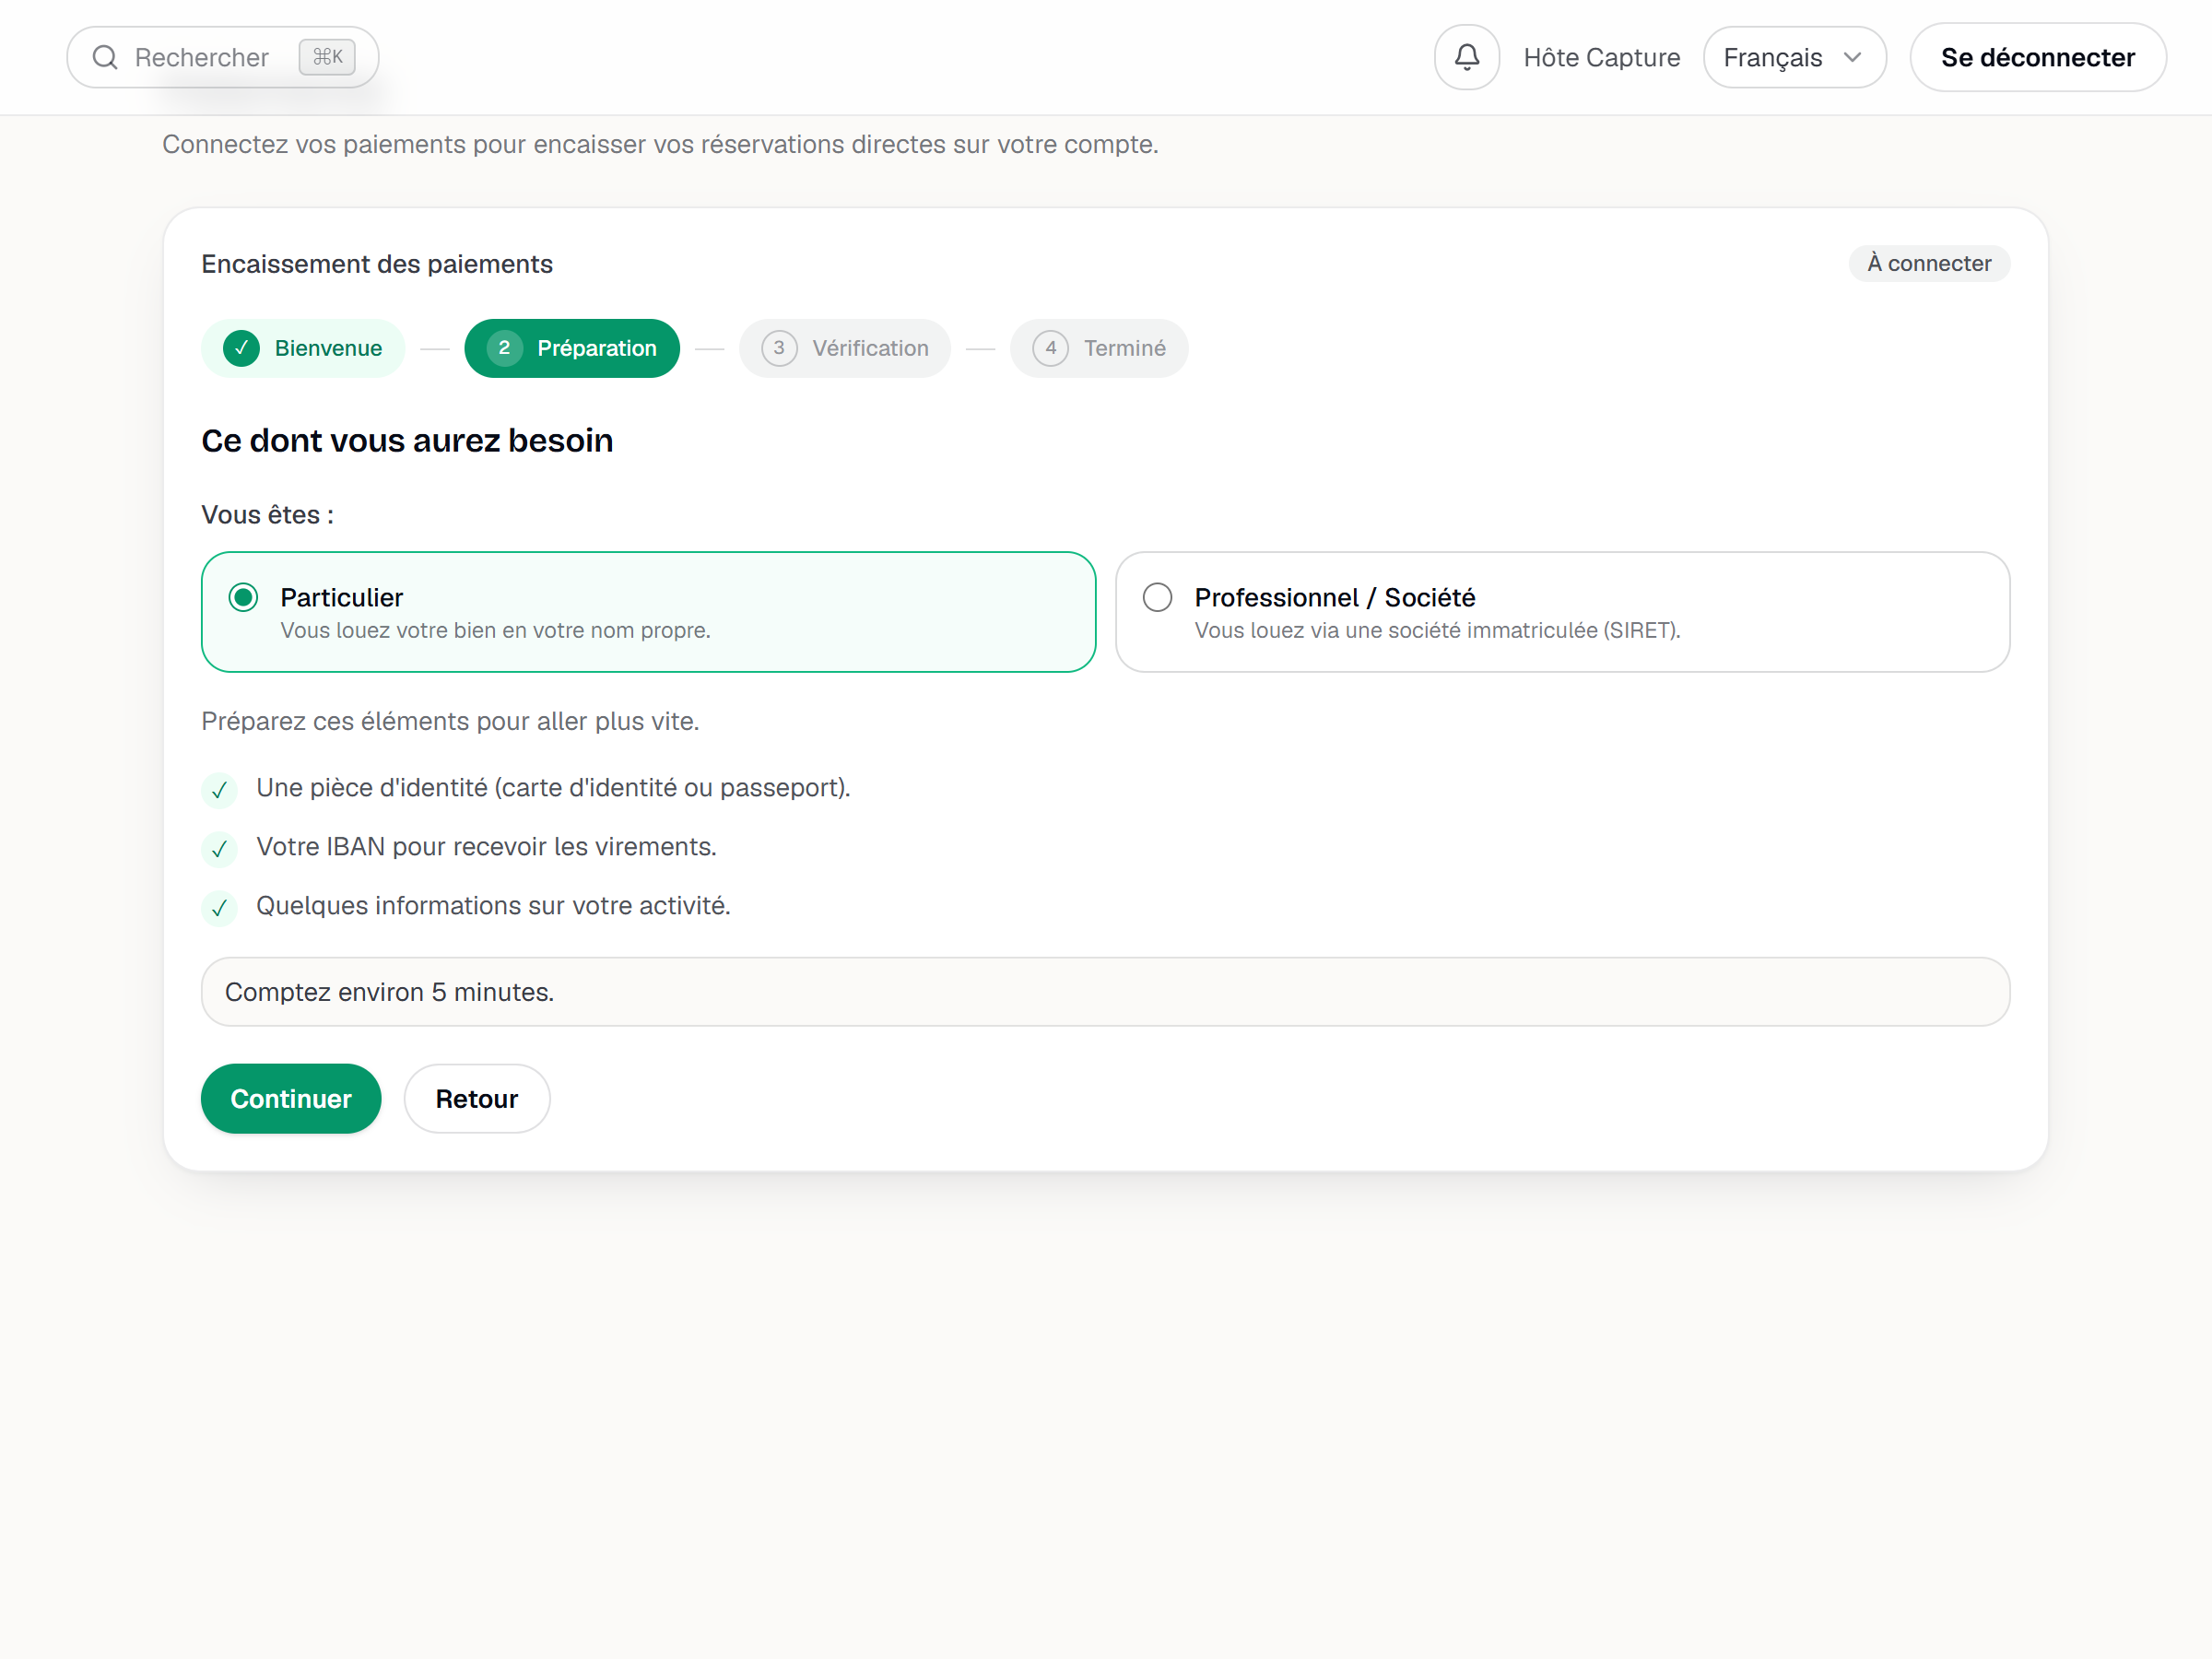
The Get ready step with the individual / professional choice and the list of documents. Verification
Most of it is filled in here, inside YStay. The sensitive fields are collected and secured by our payment partner.
If the embedded form fails to load, YStay never redirects you silently: a message explicitly offers Continue on Stripe, meaning you finish the verification on our partner's secure page.
Screenshot to be produced
captures/activer-encaissements-stripe/03-etape-verification.png
Done
The last step has three possible outcomes, and it is worth knowing which one is yours:
Your payments are connected — your online bookings are now collected into your account, deposits, balances, extras and security deposits included.
Verification submitted — your details are under review. Refresh status picks up the new state without starting anything over.
Additional information required — the reason is spelled out, and Complete verification takes you straight back to it.
Screenshot to be produced
captures/activer-encaissements-stripe/04-etape-termine.png
If your account already shows “Action required”
When your payment account exists but is held back for missing information, the setup does not restart at Welcome: it opens straight on Verification, with the first two steps marked as done, and the blocking reason shown right away.
If you come back later: “Verification in progress”
Once your details are submitted, our partner reviews them — the most common state right after the setup, and it usually outlasts your session. While it lasts, reopening Payments does not reopen the setup: the four steps give way to a Verification in progress screen (“We're verifying your account with Stripe. This can take a few minutes after you finish signing up.”) with a single button, Refresh.
Do not confuse it with Verification submitted, described in the Done step: that one appears at the end of the setup, within the same session, and its button is called Refresh status. Both say the same thing — nothing to redo, just wait and refresh.
If you picked the wrong account type
This is the costliest friction on this path, and it has no self-service fix.
That detaching is not granted at any moment. It is refused while a payment is still settling, while a security deposit is still held on a guest's card, and while a payment collected less than 90 days ago has not been fully refunded — the window during which a refund is still possible. In other words: the earlier the mistake is found, the cheaper it is. Once your first payments are in, you either refund them or wait out that window.
A plain change of IBAN needs none of that: it is done from Manage my information, on the Payments page.
Next: the Earnings page
With the setup done, day-to-day tracking happens elsewhere. The Earnings page — not to be confused with Payments — shows your collected payments, the YStay commission and your host net, period by period, with date filters and Export as CSV.
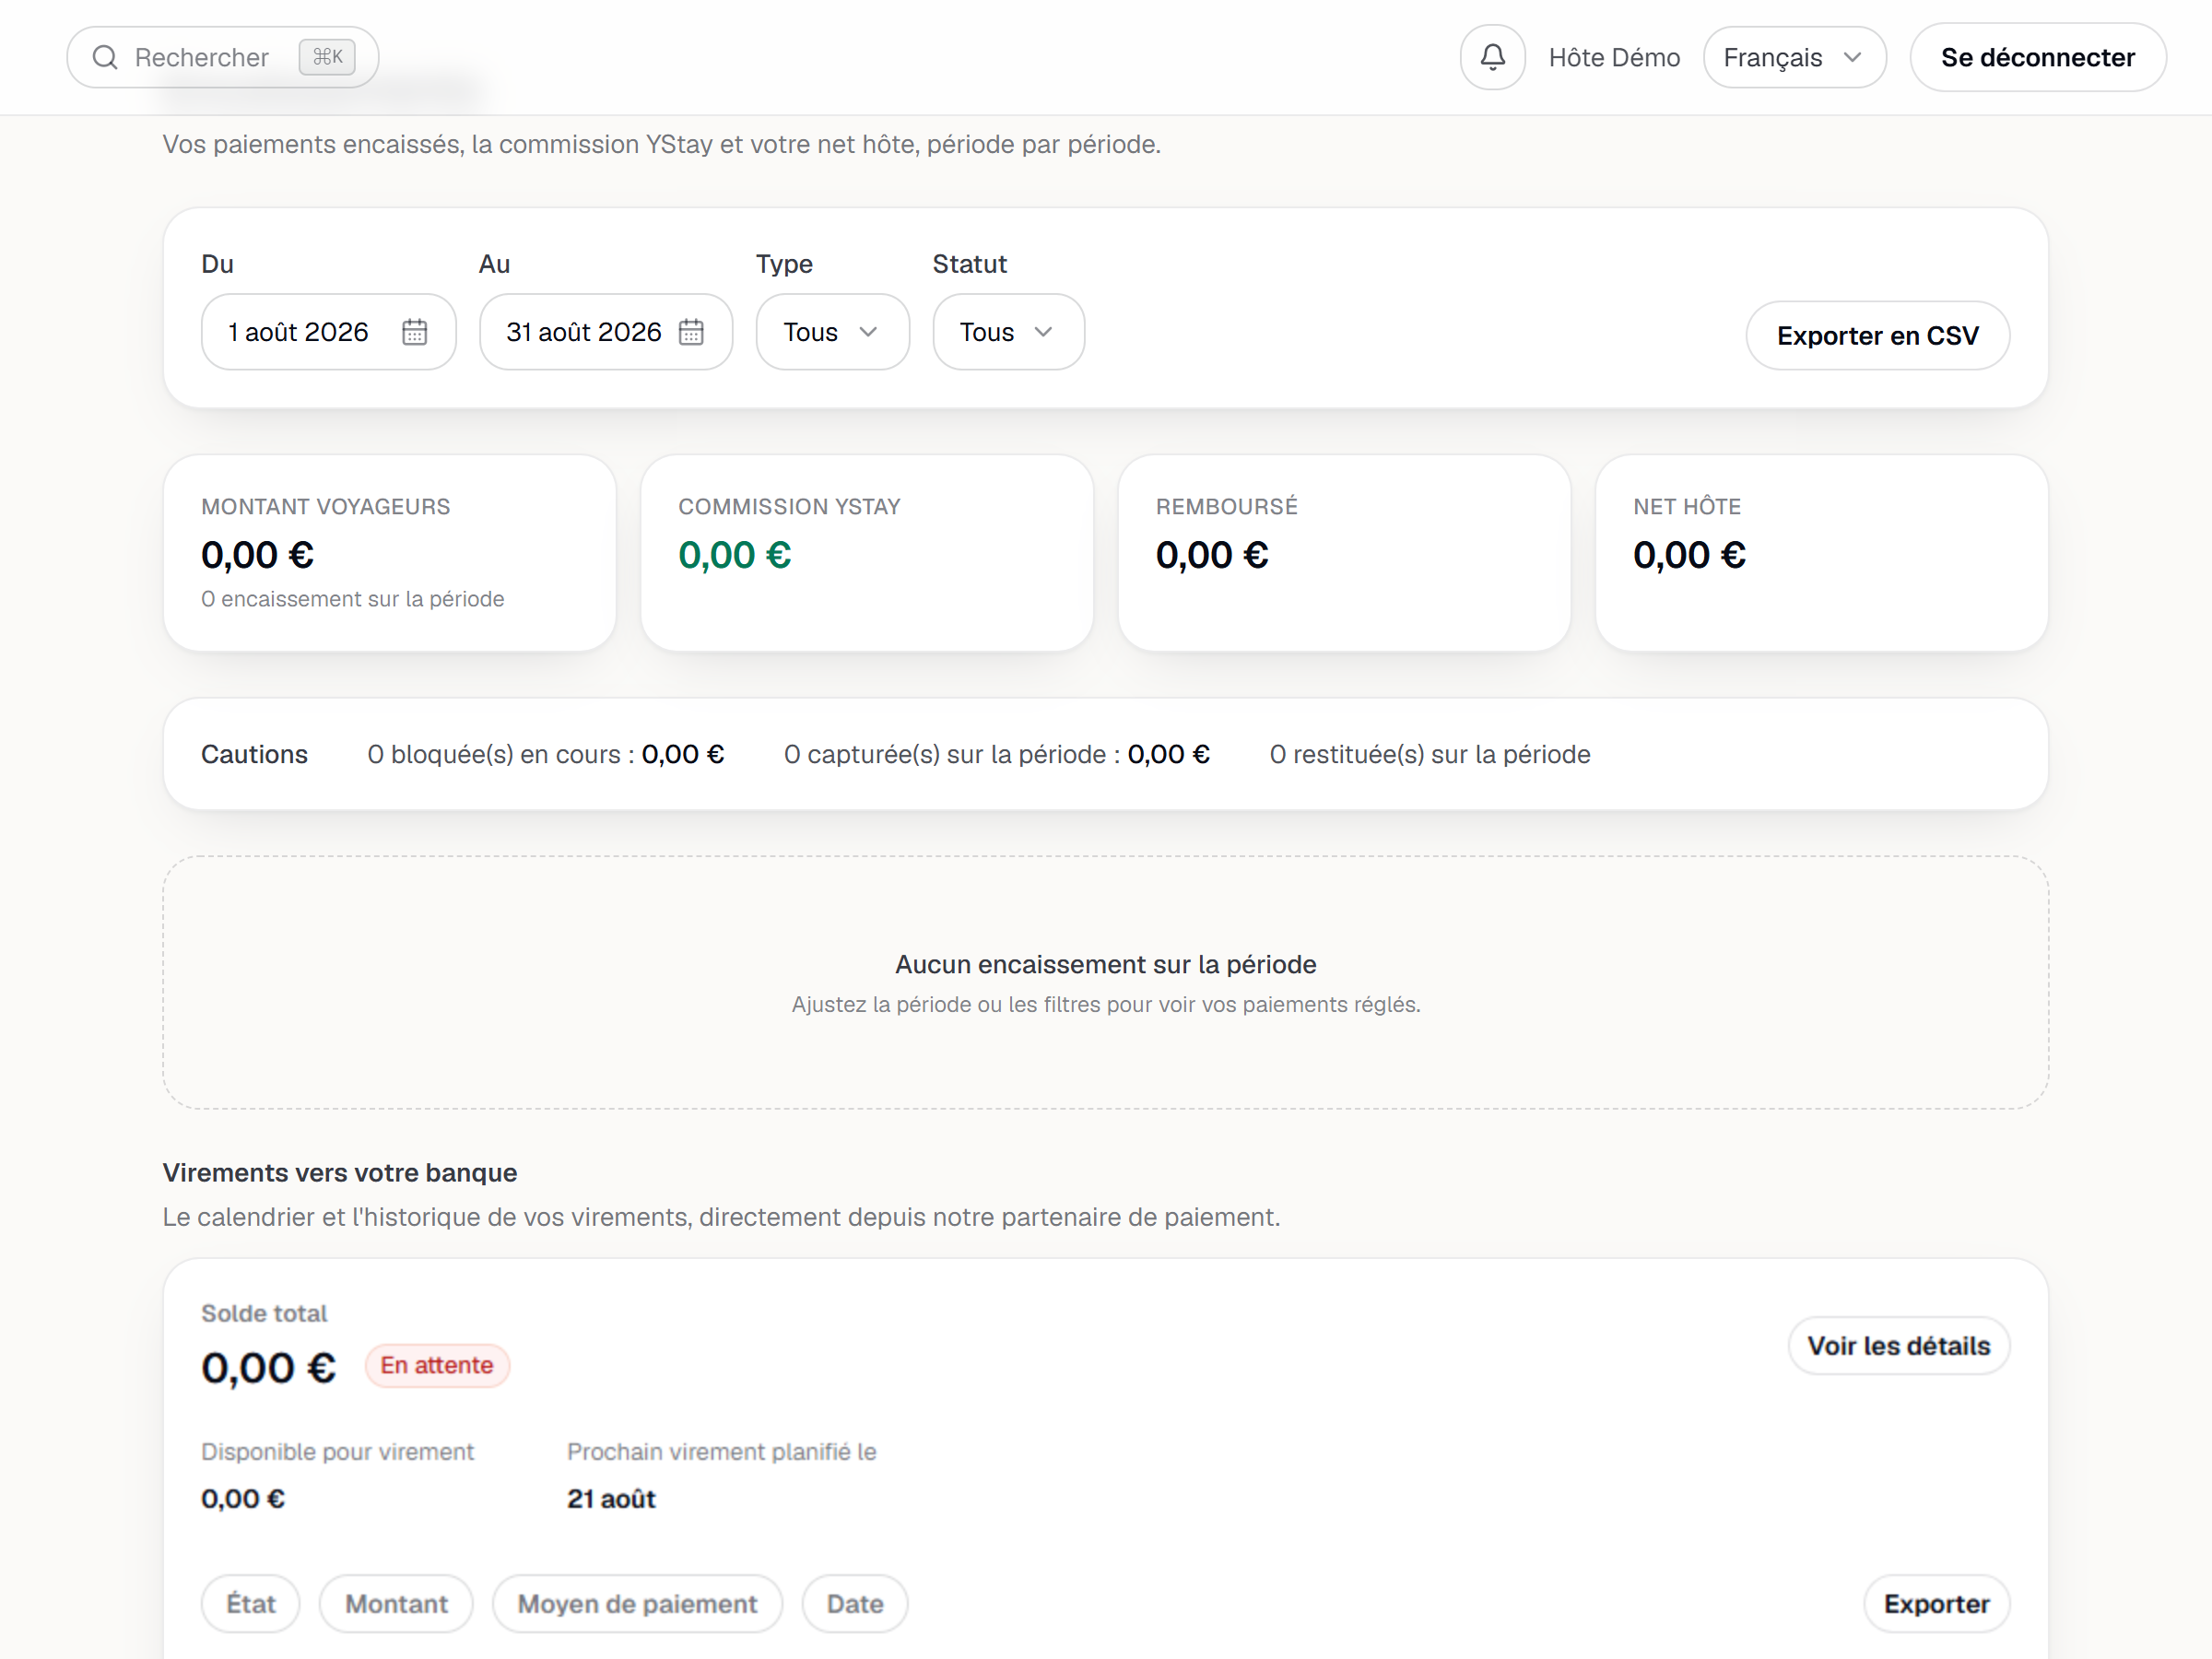
- Earnings — follow your payouts and exports.
- Track your revenue — read the Earnings page period by period, and pull the export.
- Understanding the trial and your subscription — what the trial allows, and what the subscription unlocks.
- Create your account and your first listing — back to the go-live path.
Updated on