Insurance certificates: accept, reject, unblock access
The review queue for the certificates your guests upload — and exactly what your decision governs on the door code.
The Insurance certificates page — the Certificates menu entry — gathers the holiday liability insurance certificates your guests have uploaded. Its subtitle sums up the expected move: “Accept or reject the holiday insurance certificates uploaded by your guests.”
In the normal run of things you upload nothing on their behalf: the document comes from the guest, from their own space, when the listing asks for it. Your part is the ruling.
Where the certificate comes from
The setting lives on the listing, in the Direct funnel card, under Vacation rental insurance certificate. Three values, one at a time: Not requested, Requested (optional), Required. The card warns that these settings apply to direct bookings only, “never to OTA bookings”: a guest who came through a platform is never concerned.
If need be, a reservation page also lets you upload a certificate you received through another channel yourself — Upload a certificate, “JPG, PNG or PDF — 10 MB max”. It is then accepted outright, and counts for that reservation only.
The path, screen by screen
Open the review queue
The page opens on the Status filter preset to Pending — that is, on what is waiting for you. The other choices are Accepted, Rejected, Expired and All statuses.
An empty queue reads “No certificate awaiting review.”; on any other filter the message becomes “No certificate for this filter.”
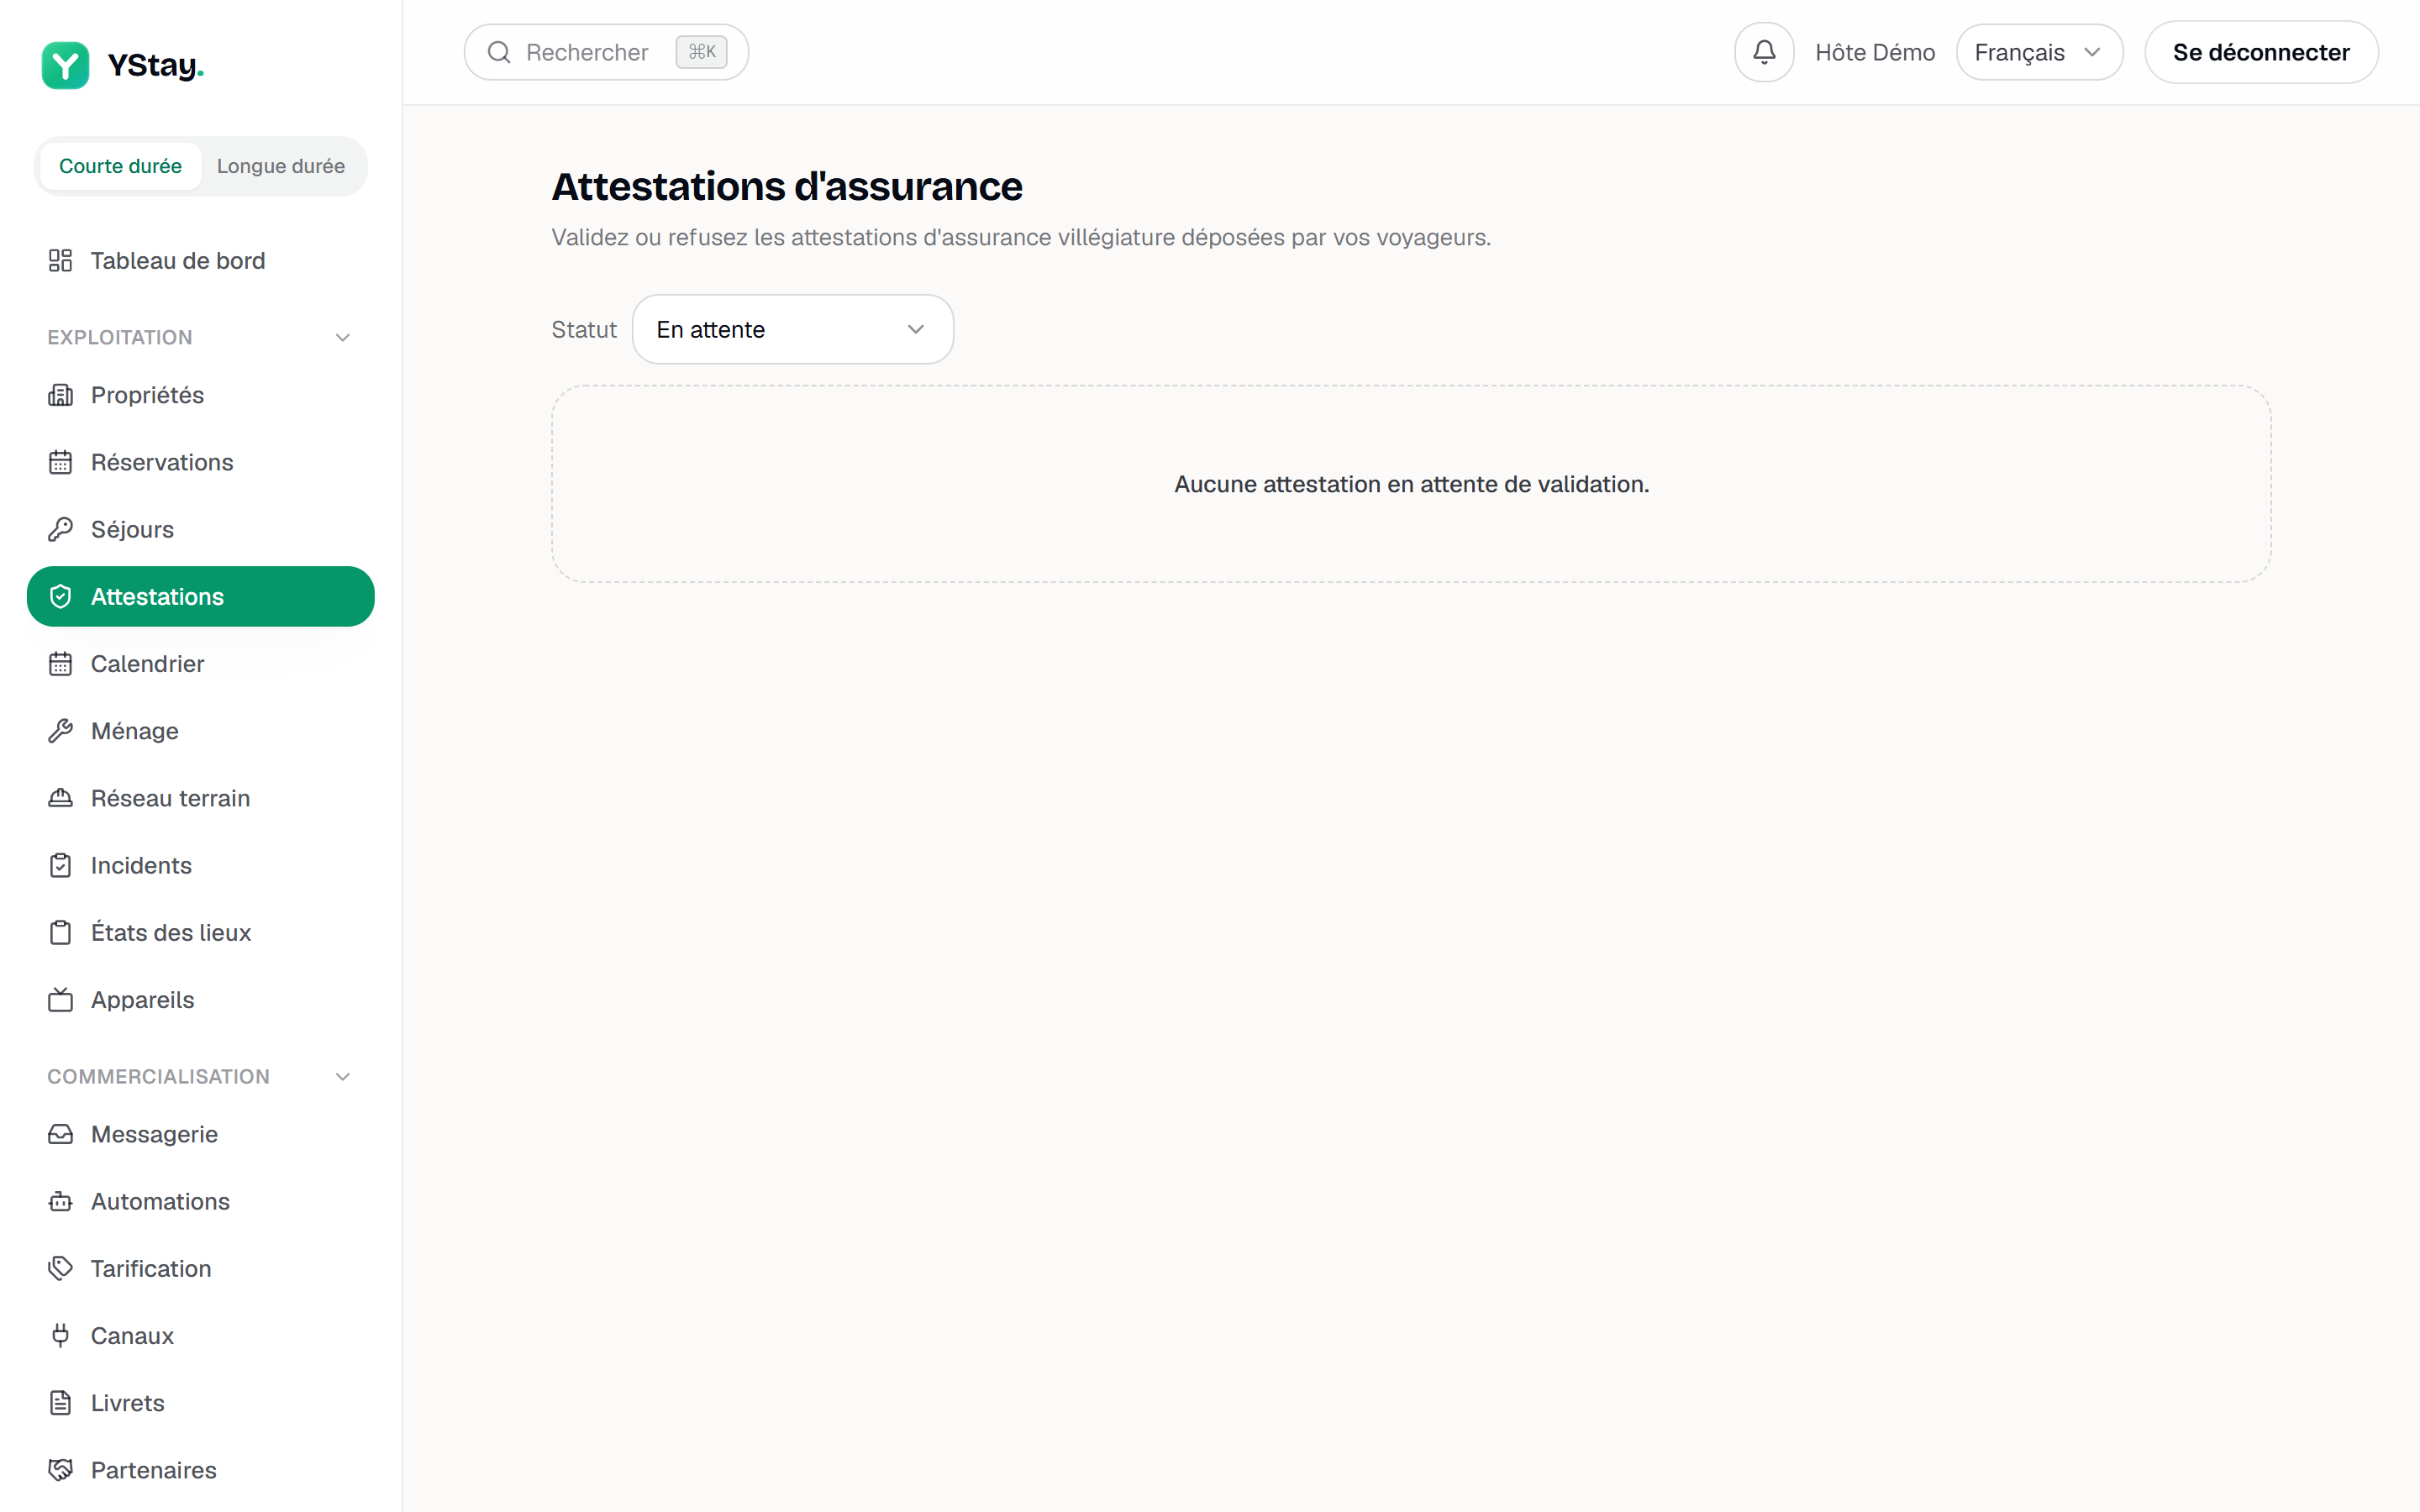
The Certificates page: review queue and filters. Look at the file before ruling
View file opens the document. YStay serves it on demand, to you alone: a certificate never has a public address, and a copied link will not work anywhere else. If the download fails, the page shows “Download failed.”
The name shown above it is not the name of the file the guest sent: YStay replaces it with a technical name on upload. To know which stay it belongs to, rely on the guest name shown under the file, which links through to their reservation.
Accept — and bound the validity
Accept opens the Accept this certificate? dialog, which states: “You can specify the validity period covered by the certificate (optional).” Two fields follow, Valid from and Valid until.
Screenshot to be produced
captures/attestations-assurance/02-attestation-en-attente.png
Reject, with a reason the guest will read
Reject opens Reject this certificate?, which announces what follows: “The reason will be shared with the guest, who can upload a new document.”
The Rejection reason field is required — its example, “E.g.: unreadable document, period not covered…”, sets the expected tone. Write it to be read: it is handed back as it stands, as “Rejection reason: …”, and that sentence is what the guest will act on for their second upload.
The four statuses
- Pending — uploaded, not ruled on. The only status where the Accept and Reject buttons appear.
- Accepted — approved by you, with its validity period on display.
- Rejected — the reason sits under the document; the guest can upload another.
- Expired — an accepted certificate whose validity has run out. The switch happens on its own, nightly: nothing for you to do, but a stay covered by an expired certificate is no longer covered.
Next
- Connect a lock and give guests access — the door code, how it is issued and how it is sent.
- Housekeeping and turnovers — what follows the stay, once the guest is in.
- Operations — every screen of the stay and its aftermath.
Updated on