Getting started
The complete getting-started kit: account and first listing, payments, guidebook, reservations and calendar, lock, inbox, booking site.
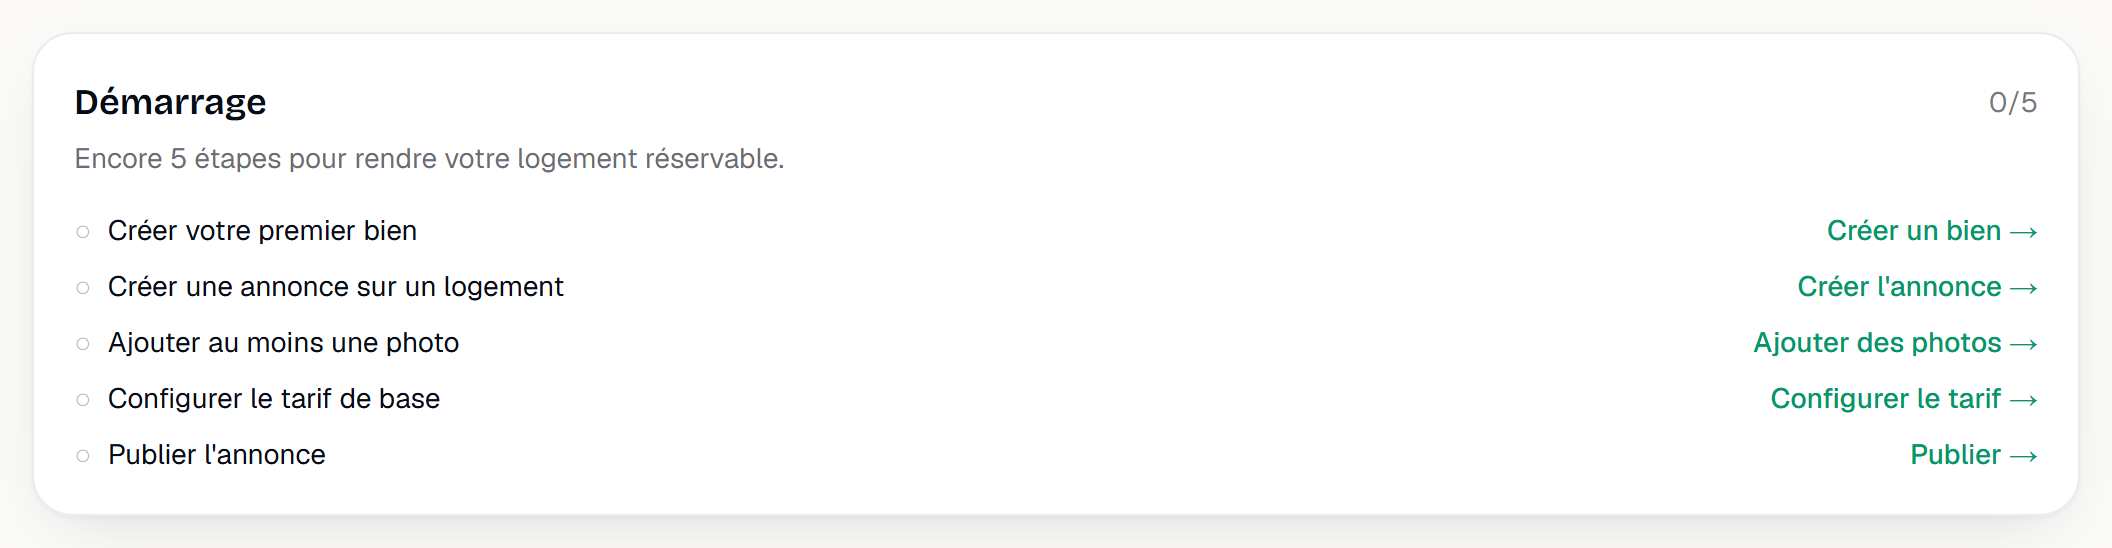
A YStay account gets going in three steps. Nothing forces you to do it all in one session: the Getting started card on the dashboard keeps track of what is left — five steps, from Create your first property to Publish the listing.
Create your account
Enter your name, your e-mail, your default language and the account type (Individual or Professional), then confirm the verification link sent to your inbox.
Create a property, a unit, a listing
A property is the building, a unit is what you rent out, and a listing is what travellers see. All three are created one after another from the Properties page.
Enable payments
Until payments are enabled you can prepare everything, but collect nothing. See Earnings.
Guides in this section
The walkthrough above stops at payments: the guides below cover what comes next — guidebook, reservations, access, inbox, and booking site.
- Create your account and your first listing — the full path, from sign-up to going live, screen by screen.
- Enable payments (Stripe) — connect your payment account in four steps, and what can no longer be changed afterwards.
- Create and publish your first guidebook — build a guidebook block by block, translate it, then publish it as the link guests receive.
- Take your first reservation and run your calendar — where reservations come from, what each status triggers, and how to drive prices and availability.
- Connect a lock and give guests access — attach a lock to a unit and know exactly which channel carries the code to the guest.
- Reply to your guests (inbox) — one conversation per reservation, replies relayed to the right channel, and an AI draft only you can send.
- Publish your booking site (and your domain) — create a site, dress it up in Studio, publish it, then connect your own domain name.
Updated on