Listing photos and zones
Organizing the gallery by zone, choosing the cover photo, and knowing what the other surfaces see of your pictures.
A listing's photos live in a single card on its page: Listing photos. Its subtitle states the rule — “The first photo (cover) is highlighted on the public page. Drag and drop to organize by zone.”
When the listing is created, YStay already lays out ten zones, in the order they will be presented: Living room, Bedroom 1 through Bedroom 4, Kitchen, Bathroom, Exterior, View, Other. They stay visible even when empty: the gallery is a floor plan to fill in, not a list to build.
Filling and organizing the gallery
Open the card and read its state
Each zone is a collapsible row: a chevron, its name, then the number of photos in brackets. A small dot marks the zone holding the cover; its tooltip reads Cover photo.
One extra row, No zone, is pinned at the top for as long as it holds anything, with the To sort badge. It is the landing area for photos uploaded without a destination.
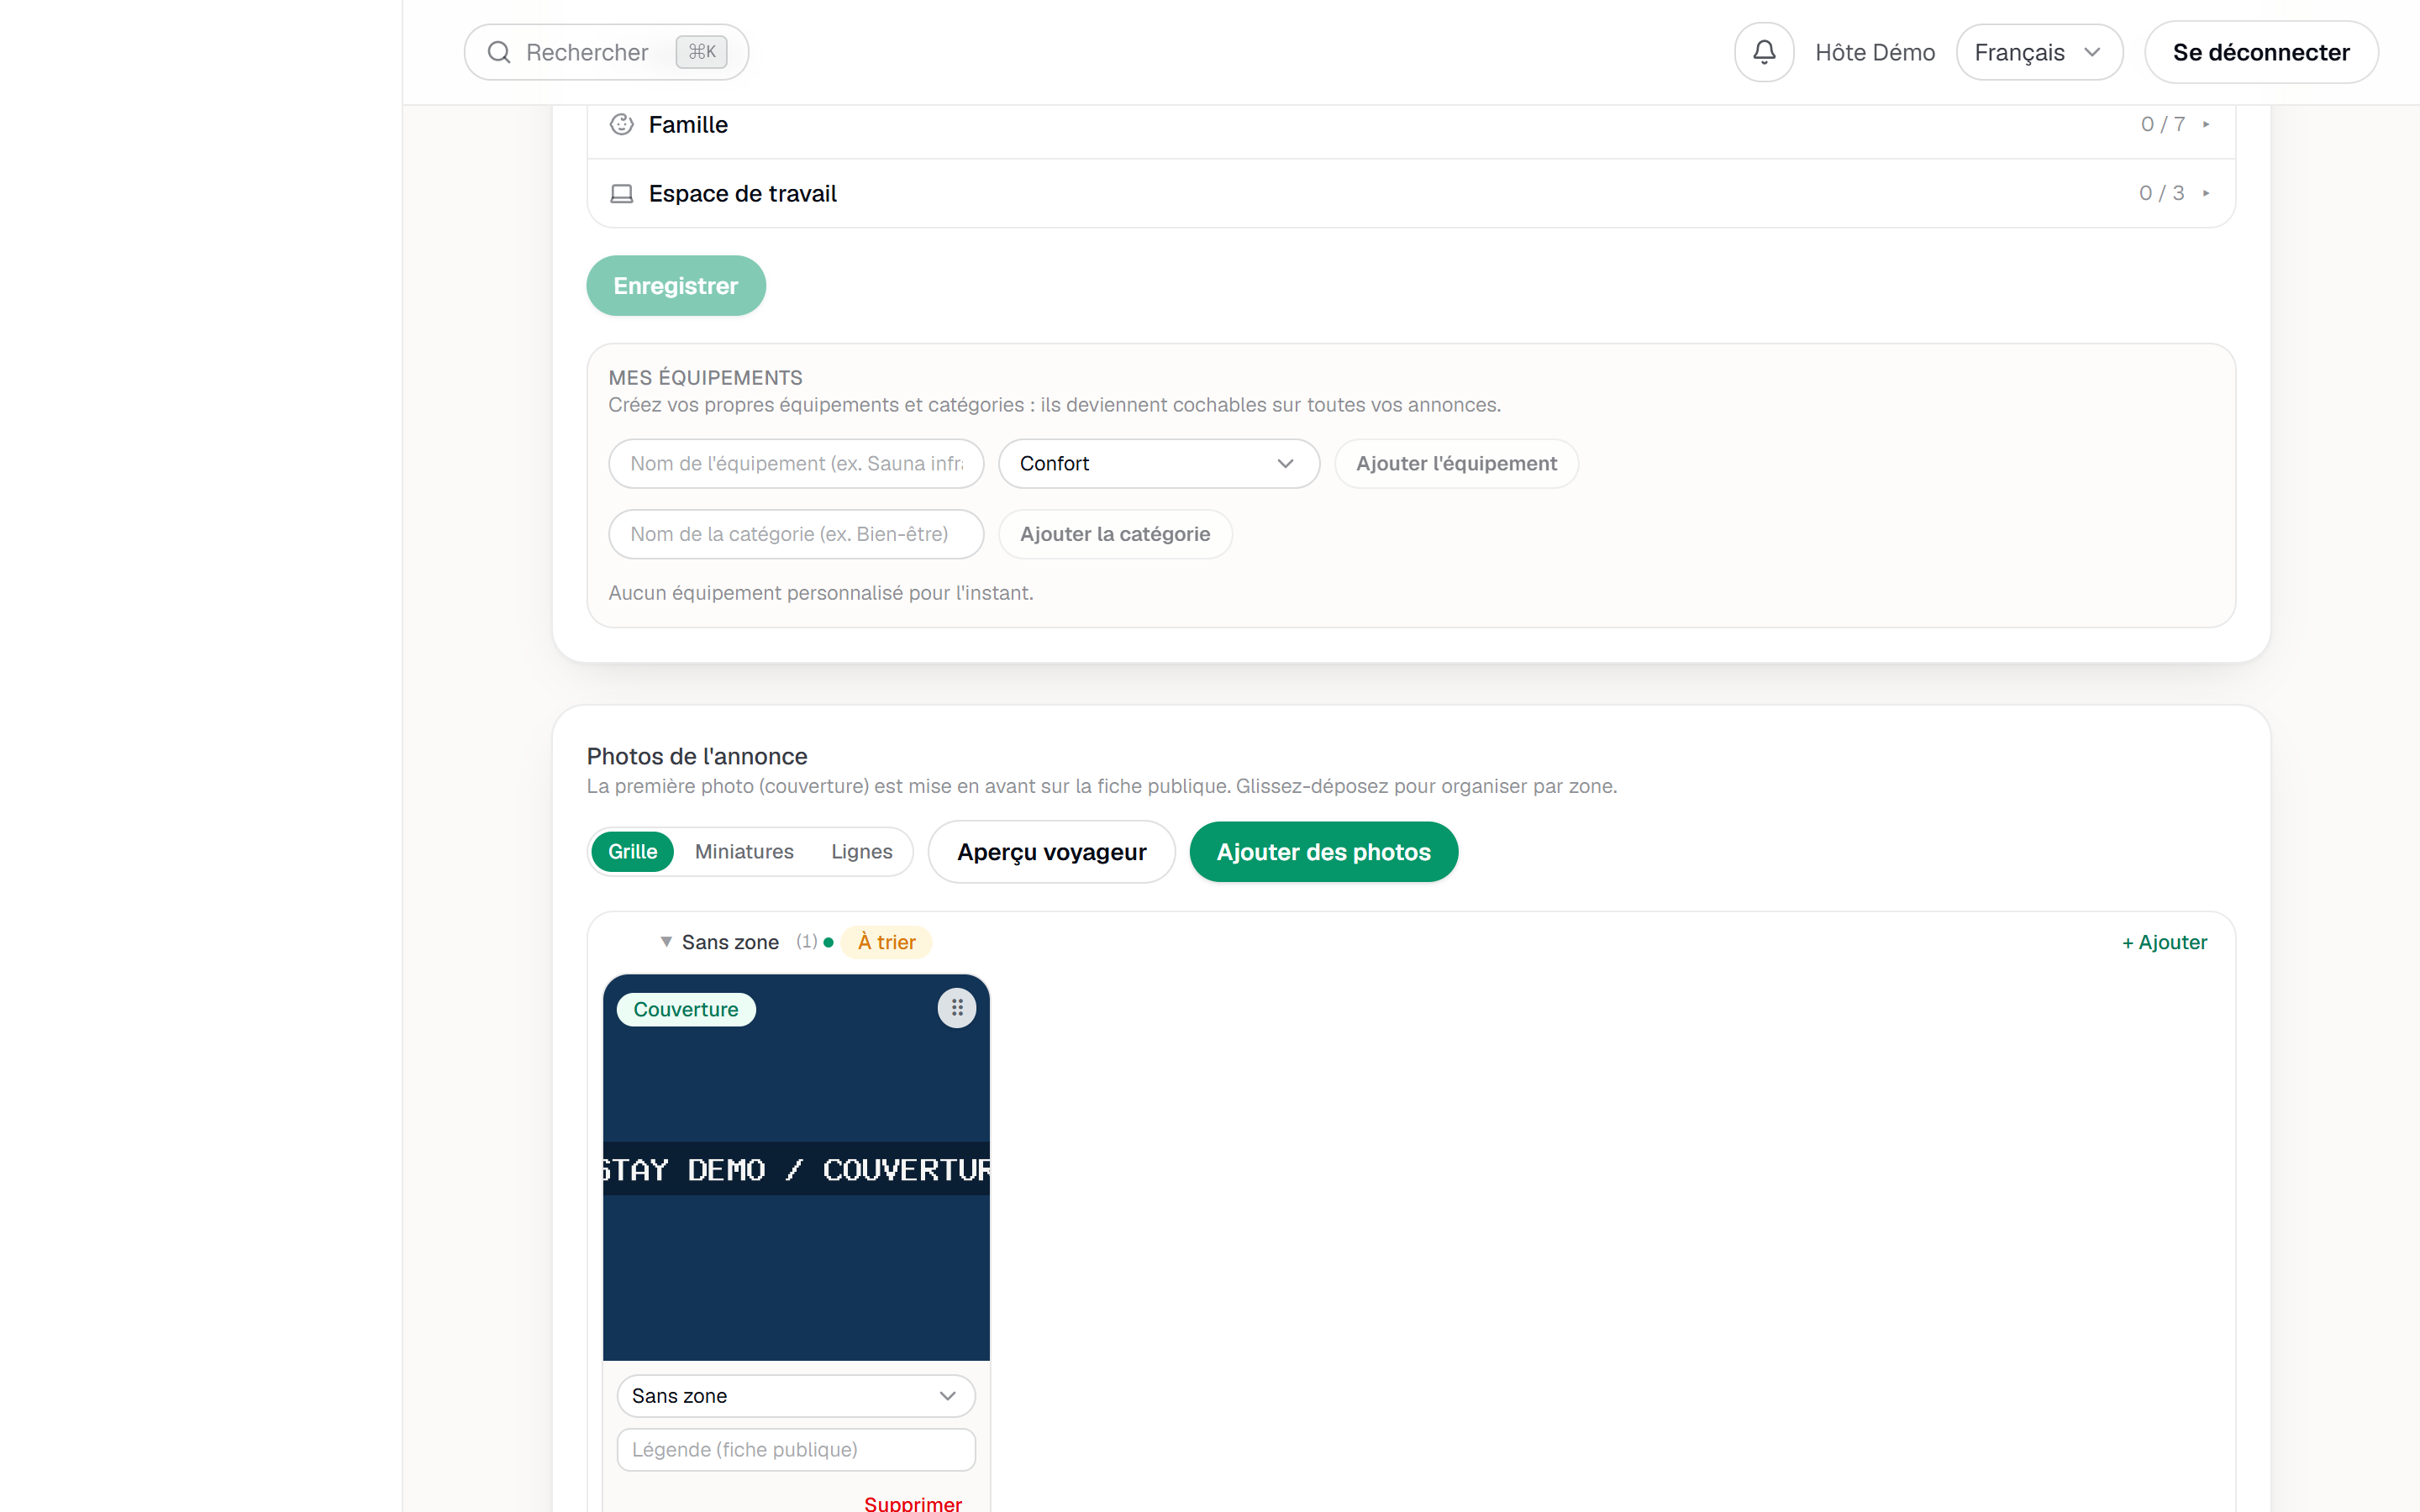
The Photos card: named zones and the cover badge. Upload photos
Two entry points, and they do not do the same thing. The Add photos button at the top of the card drops into No zone. The + Add link in a zone header drops straight into that zone — and opens its drawer so the result is visible.
Accepted formats are JPEG, PNG, WEBP and HEIC. Before upload, your browser resizes the image to about 2000 px on its longest edge and re-encodes it: a phone photo leaves lighter with no visible loss. A HEIC your browser cannot decode is sent as-is rather than failing. During the upload, the button shows the progress.
Add a zone of your own
Below the last zone, a dashed row waits for a name: New zone (e.g. Mezzanine), then Add zone. The zone you create opens immediately.
A zone you created can be renamed by clicking its name, and deleted from the ⋯ menu on its row. The ten original zones cannot be deleted.
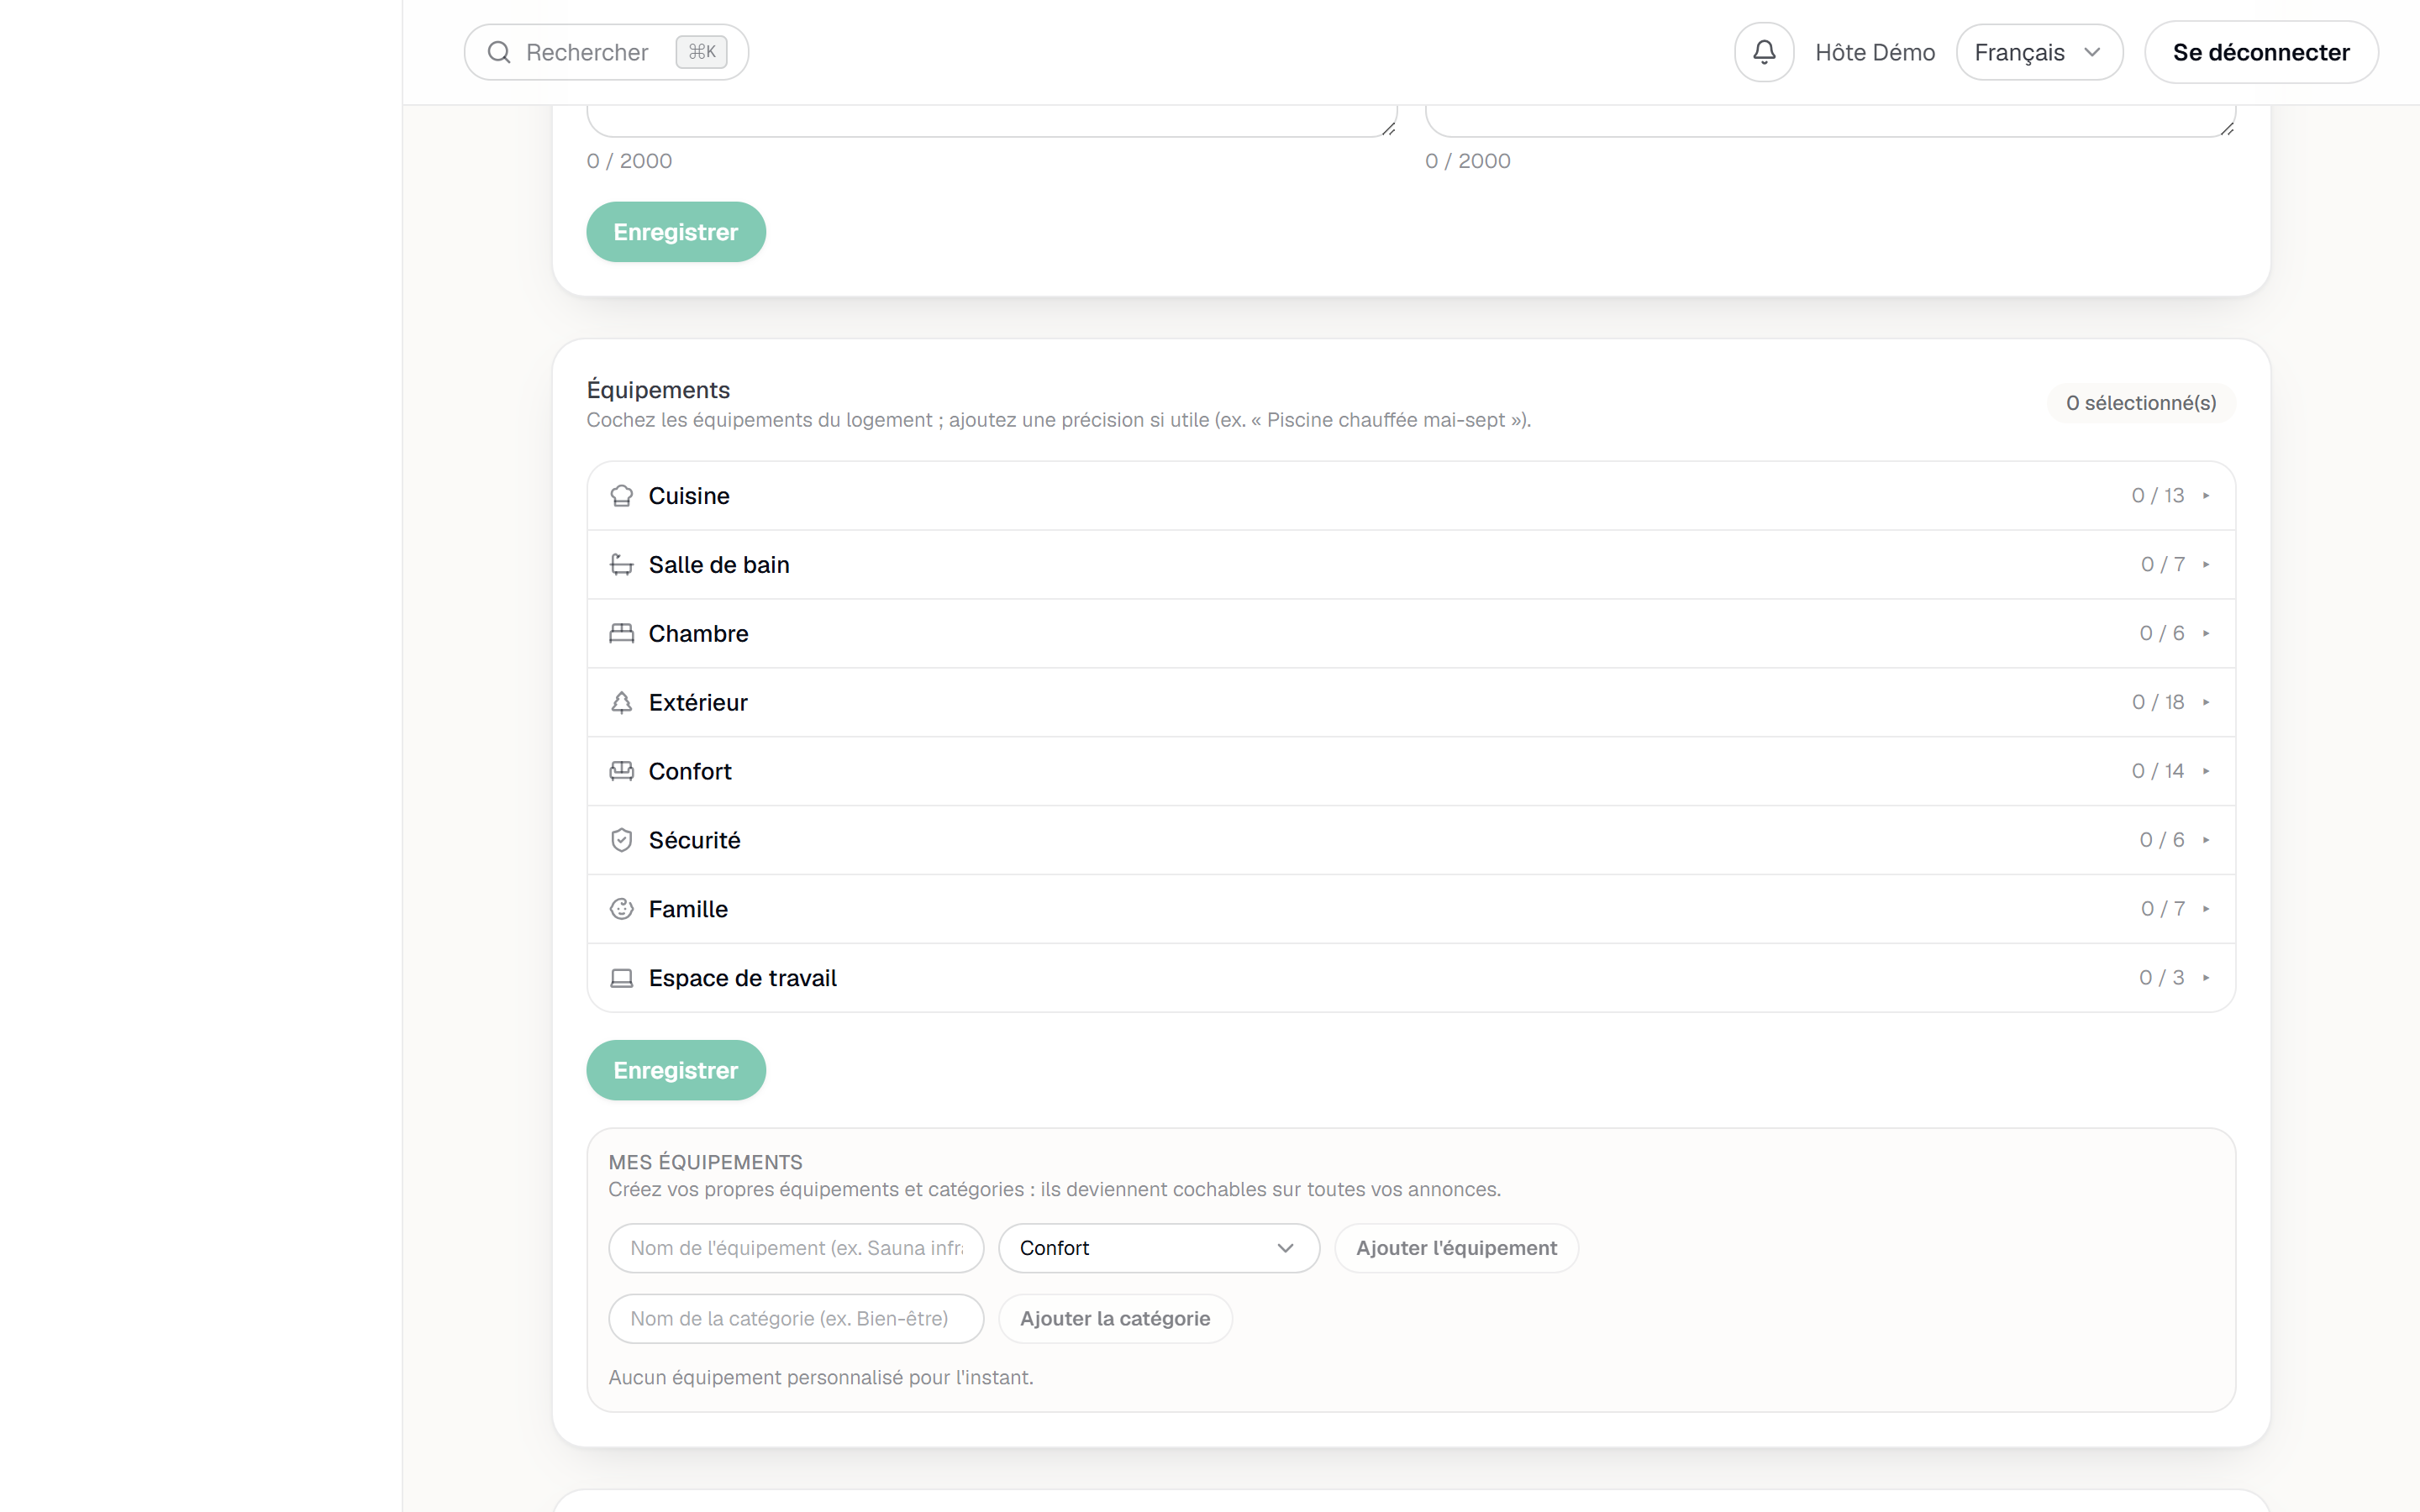
Adding a zone: the input row that appears in the gallery. Sort, order, caption
A photo moves by dragging it to another zone; hovering over a collapsed zone opens it after a moment. If drag and drop is not for you, every photo carries a Zone selector that does the same job.
Order matters twice: inside a zone, and between zones — the handle at the start of a row reorders the zones, and it is that order the public page will follow.
The Display mode group switches between Grid, Thumbnails and Rows. That choice belongs to your browser, not to the listing. Finally, the Caption (public page) field under each photo is saved when you leave the field.
Set the cover and check the result
A photo's Cover button promotes it; there is only one per listing, and the header dot follows. If no cover exists when you upload, the first photo sent becomes the cover automatically.
Guest preview opens the gallery as it will be seen, zones included. The button stays disabled until at least one photo has been added.
Your photos elsewhere in YStay
The media library is shared across your studios: from the Site Studio or the Guidebook Studio, the Listing photos tab shows you your listings' pictures without re-uploading them.
Next
- Description, amenities and listing score — the Photos dimension of the score depends directly on what you have just organized.
- Translate and distribute the listing — preparing the listing for foreign travellers and for the platforms.
- Listings — back to the whole set of cards on the listing page.
Updated on